
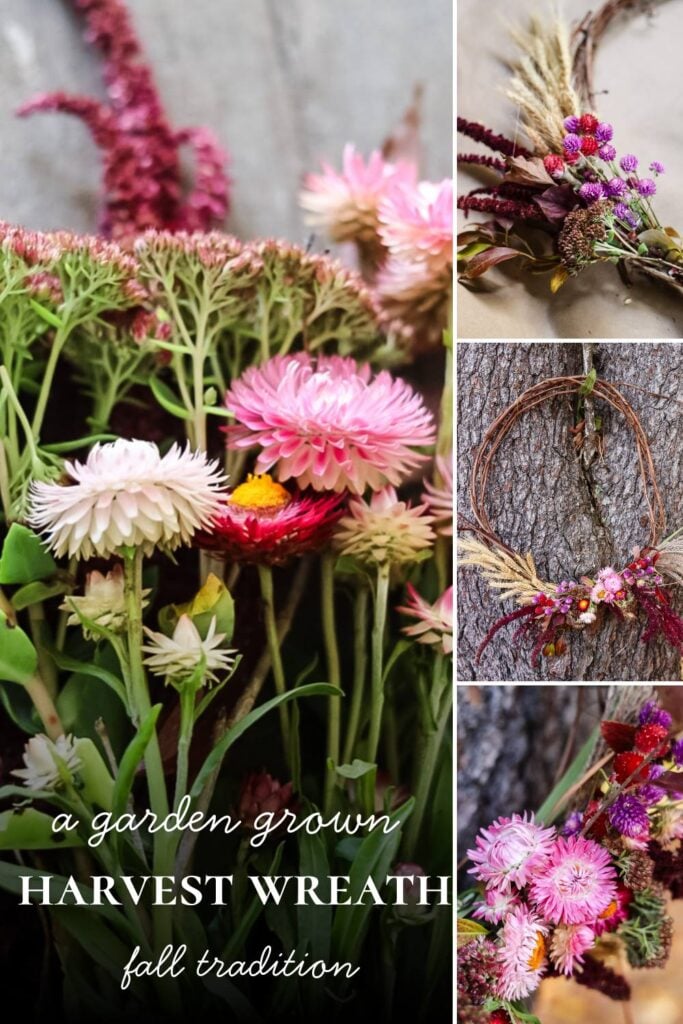
Join me for my favorite fall tradition: crafting a wreath foraged entirely from my garden. This year I created a modern, asymmetrical style wreath. This step-by-step guide shows how to use grapevine, amaranth, and strawflowers for a beautifully organic front door display.
There’s a certain rhythm to the seasons here at the cottage, and one of my absolute favorite autumn rituals is crafting that year’s wreath using only what I can find and forage from my own garden. It’s a personal challenge that feels deeply satisfying, and each wreath becomes a unique snapshot of the garden in that particular Fall.
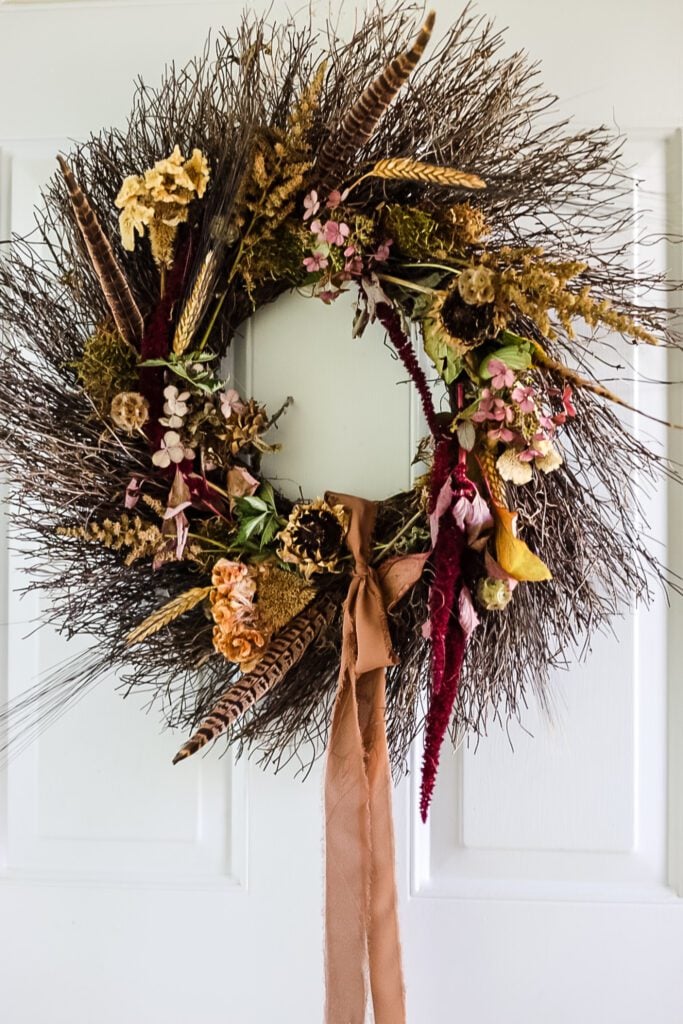
This year, I was inspired to create something a little lighter and more modern. I moved away from a dense, store-bought grapevine base and instead built my own airy frame, letting the beautiful, textural blooms from the garden take center stage in a fresh, asymmetrical design.
The Asymmetrical Harvest Wreath: A Garden-Grown Fall Tradition
Materials for this Project
- Grapevine Wreath Base
- Assorted Garden Flowers in Pink & Red
- Dried Wheat Stalks
- Ornamental Grass Plumes
- Red Leaf Branches
- Hot Glue Gun
This post may contain affiliate links, which means we receive a small commission if you purchase through our links. See our disclaimer page for more information.
Gathering Your Garden’s Bounty
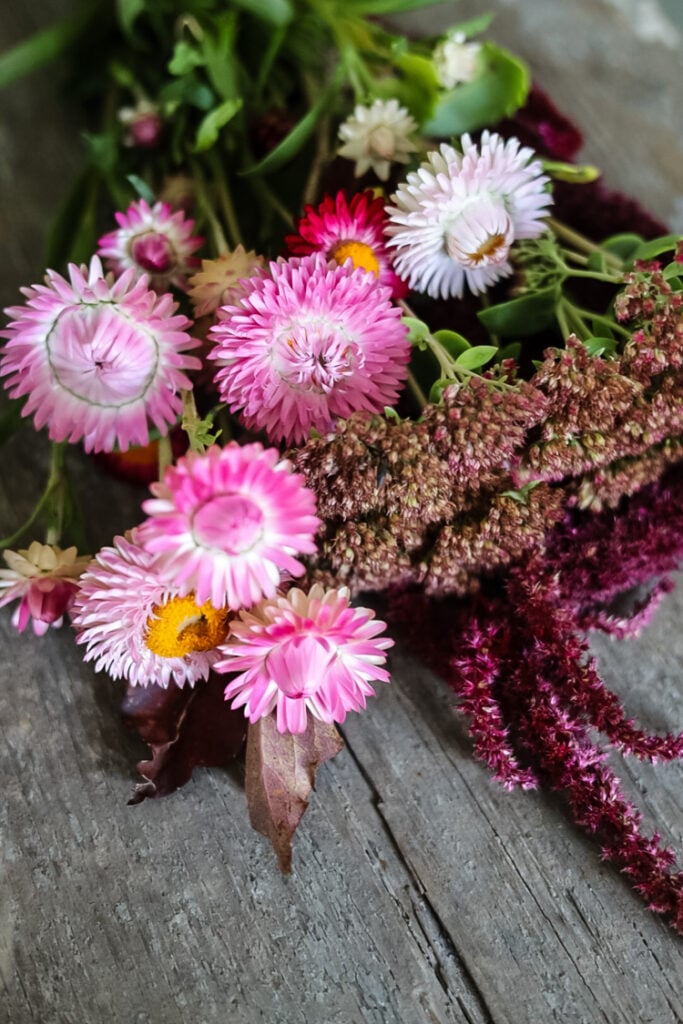
The hunt for materials is the best part! I foraged for a mix of textures and colors, focusing on things that dry beautifully. Here’s what my garden provided this year:
- The Base: Long, pliable clippings of grapevine
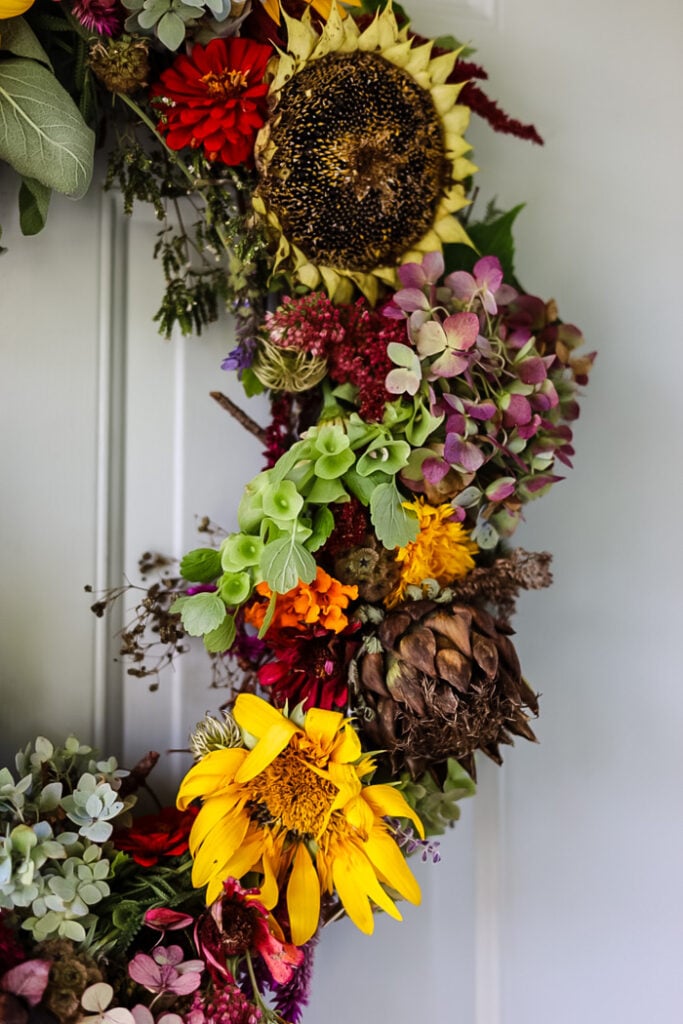
- The Statement Makers: Dramatic, trailing Amaranth, maroon leaves, and vibrant Strawflowers
- The Delicate Fillers: Globe Amaranth (Gomphrena) and Autumn Joy Sedum flowers for pops of color and texture
- The Airy Texture: Feathery plumes of Ornamental Grass
- The Warmth: A few Dried Wheat Stalks for a classic, golden touch
Your Turn: Look for elements with strong stems, interesting shapes, and a variety of heights. Don’t be afraid to include seed pods or interesting leaves!
The Step-by-Step Process
This method is wonderfully organic-there’s no perfect way to do it, just follow the natural shapes of your materials.
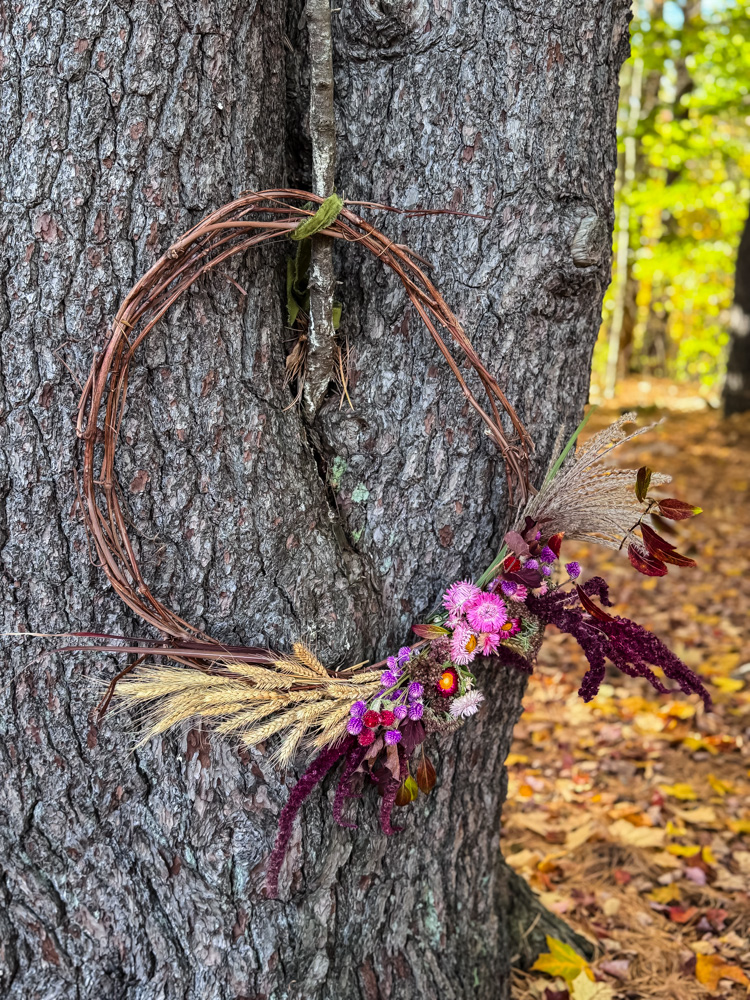
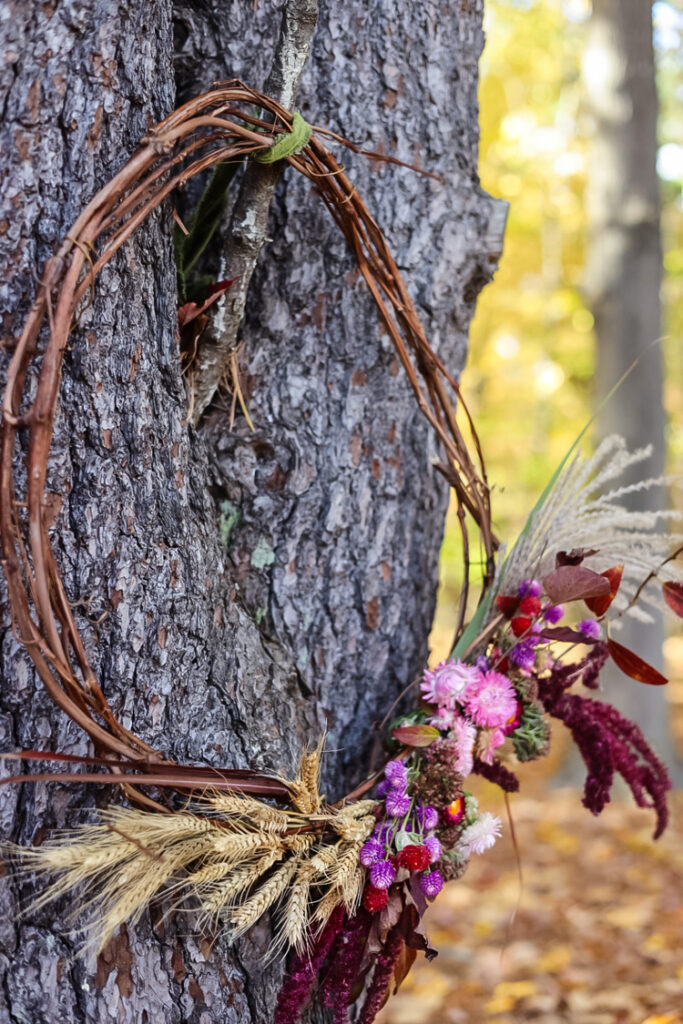
Create the Airy Base:
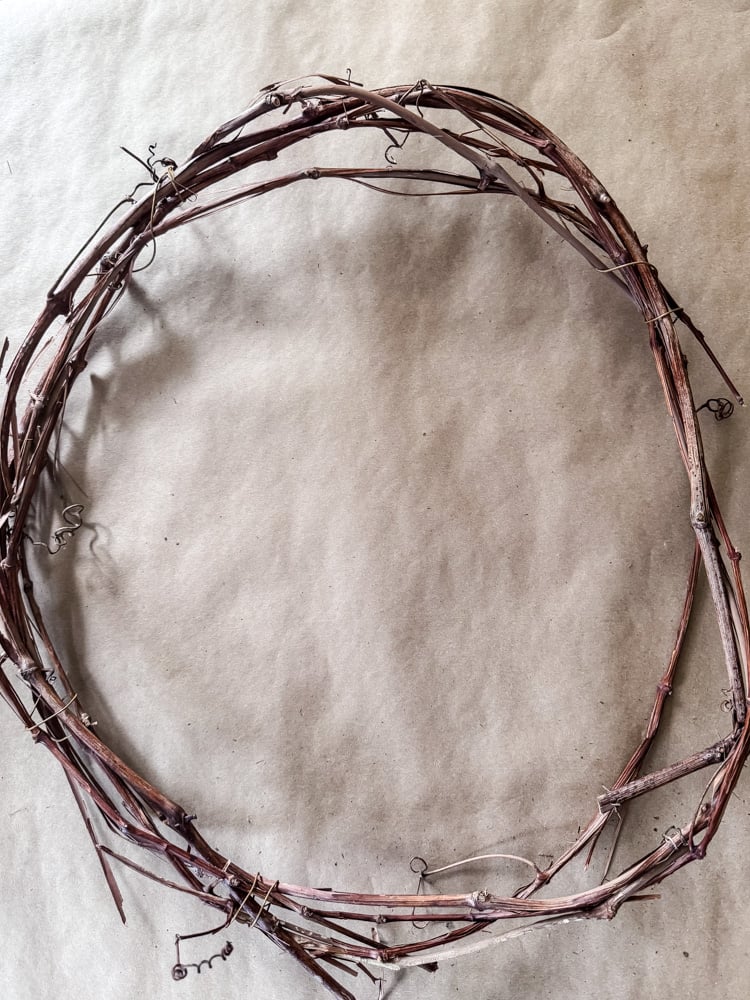
Twist and weave long grapevine clippings into a circular form. Don’t worry about it being perfectly uniform; the slight irregularities are what give it character. Secure the shape by tucking the ends into the weave. The result should be lighter and more open than a traditional wreath.
No fresh grapevine? No problem! Take a store-bought grapevine wreath and gently unwind and loosen the vines. You can reshape it into a slightly more open and organic form, which gives the same lightweight, modern feel as a handmade base.
Establish the Focal Point:
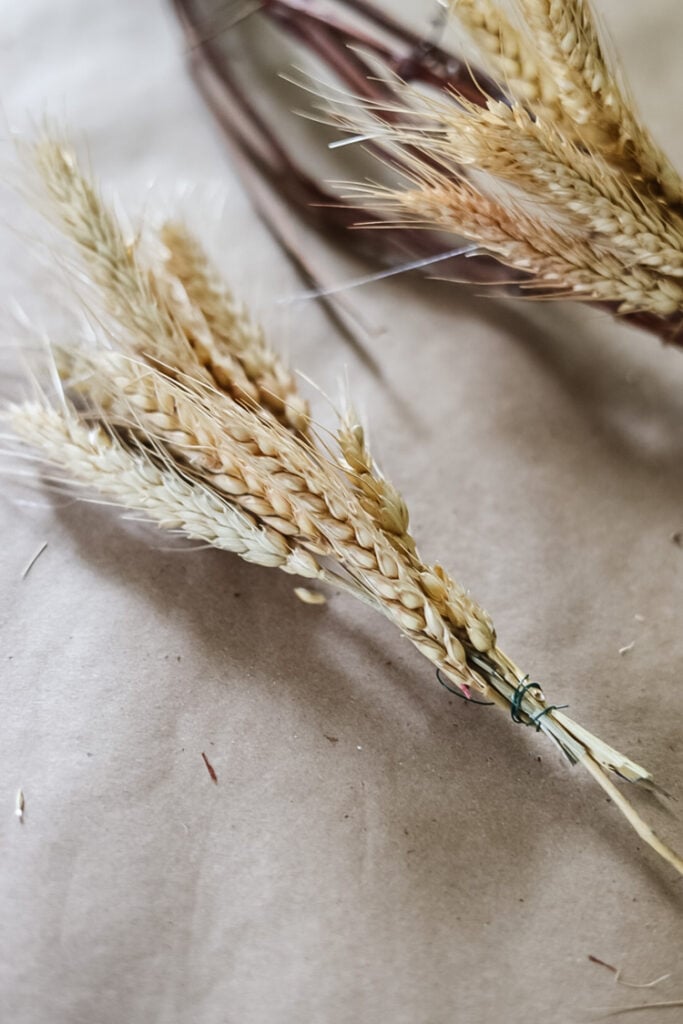
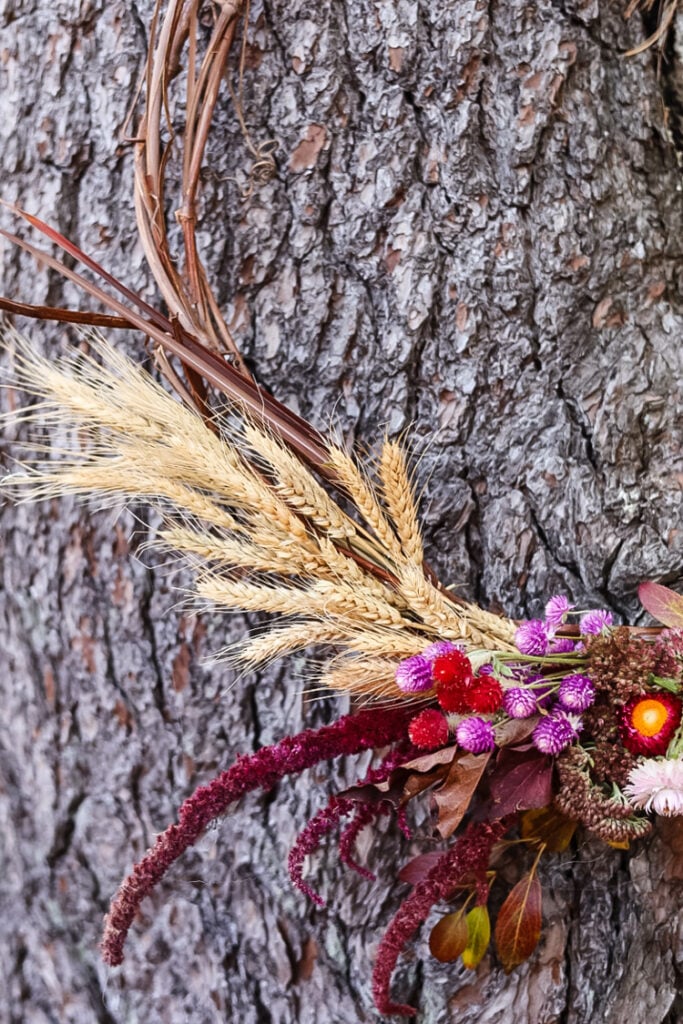
Identify the section where you want your flowers to live (I chose the bottom right). Start by attaching your largest, structural elements first. I began with the wheat stalks, trimming their ends down to just a few inches. I made a few small, tight bundles and secured each one with a bit of floral wire.
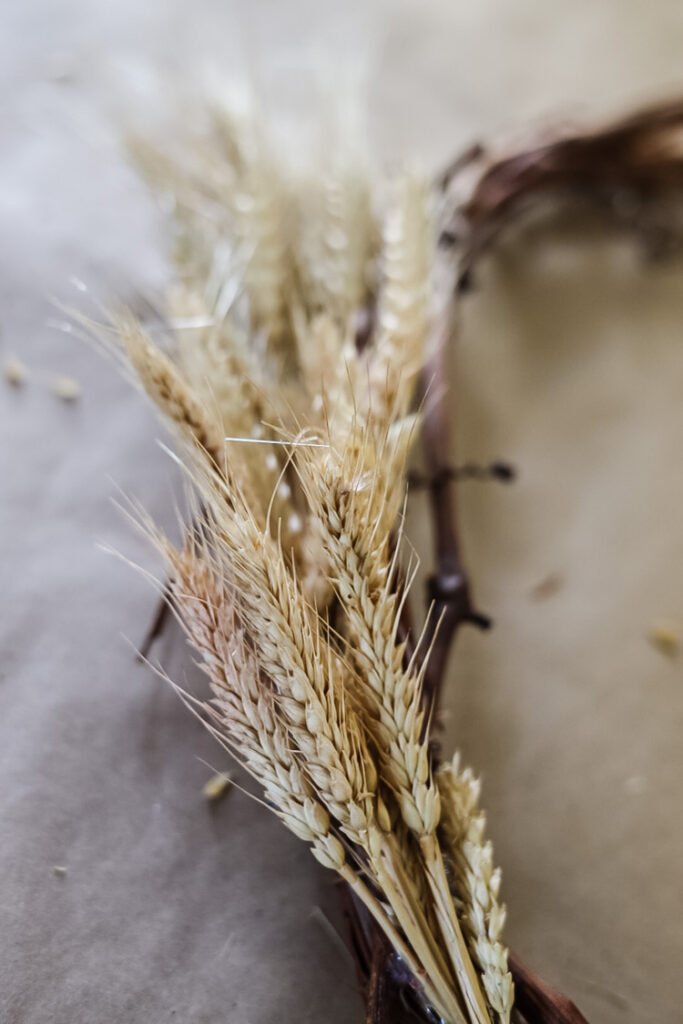
Then, I used hot glue to attach these wheat bundles to the wreath base, creating the primary shape and flow for my arrangement.
A Little Flower Drama
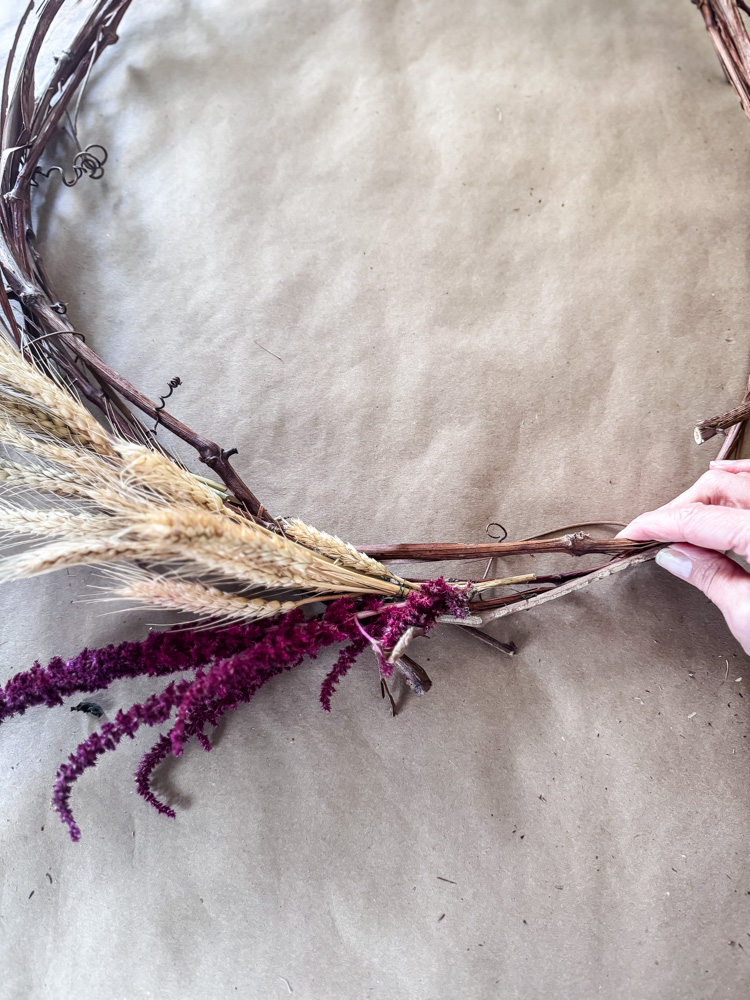
Next, I glued on a few flowing amaranth flowers, letting their dramatic, trailing forms spill out from below the wheat for instant movement and visual interest.
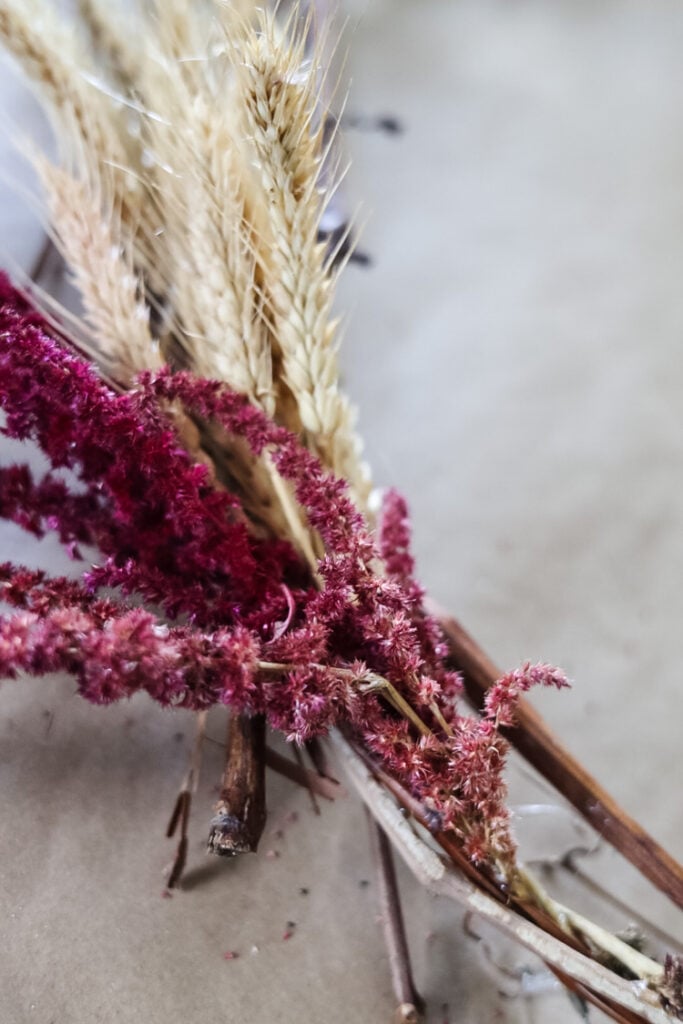
Amaranth is the ultimate drama queen of the garden, and its trailing, colorful plumes were exactly what this simple wreath needed to come to life.
Colorful Fall Branches
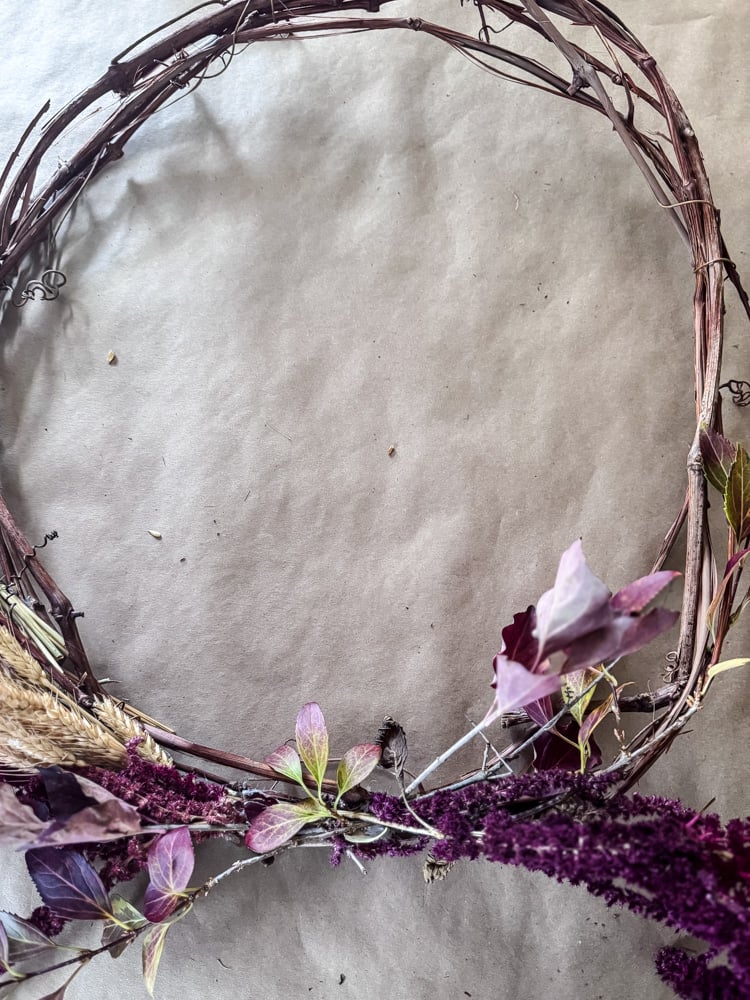
To weave in more autumn color, I then tucked in a couple of small branches with delicate reddish leaves, gluing them securely near the base of the amaranth. I snipped the branches from a forsythia bush and also a small lilac in my garden.
Layer in Texture and Color
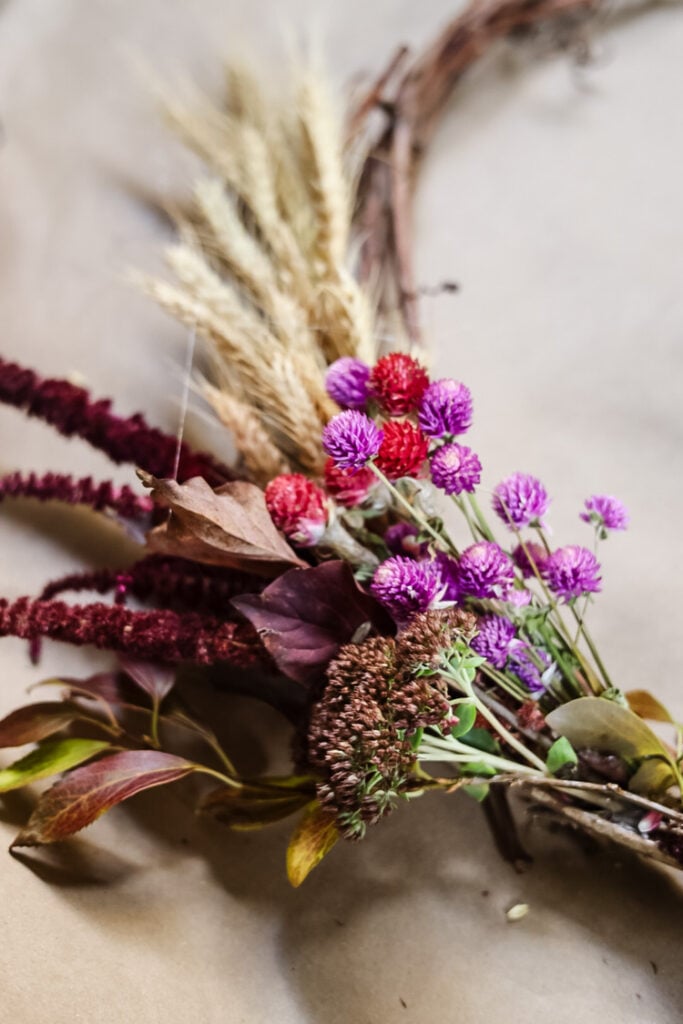
Now it’s time to build depth and fullness. I took small bundles of colorful purple and red gomphrena and hot-glued them to the wreath, placing two bundles so they angled away from each other in opposite directions. This creates a sense of natural, organic spread.
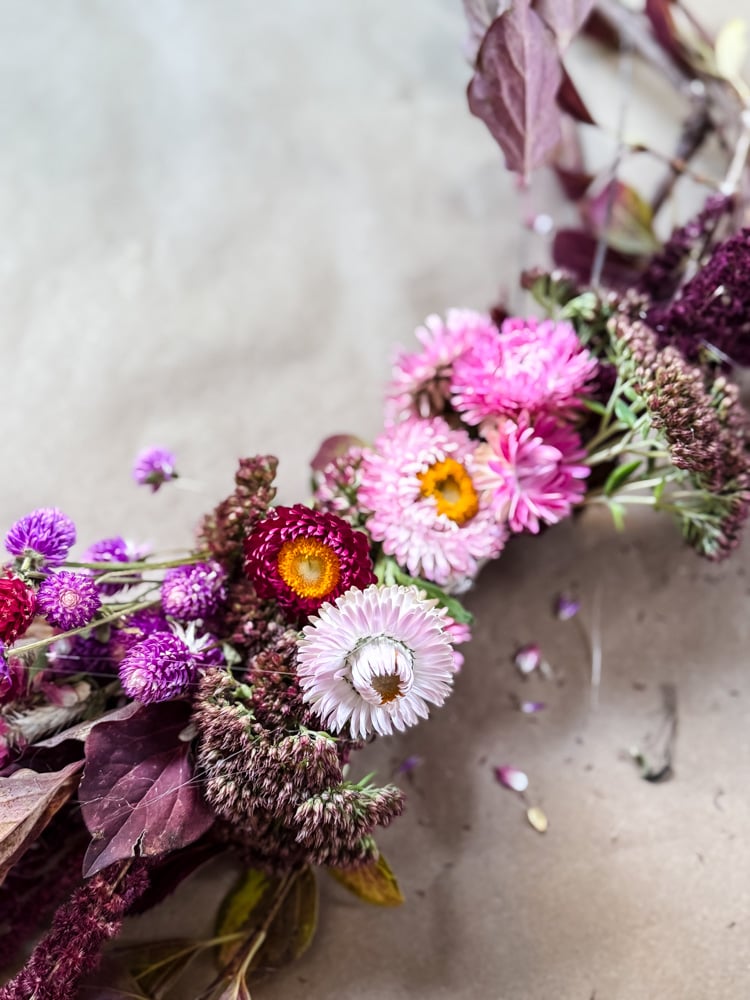
Right in what felt like the visual center of the asymmetrical cluster, I hot-glued a few strawflowers in pink and red. Their vibrant, textured faces became the perfect little focal points nestled within the arrangement. For the final layer of texture, I gently tucked a few Autumn Joy sedum flower heads between the gomphrena and strawflowers, their subtle, broccoli-like shapes perfectly bridging the other elements.

Add Airy Texture with Grasses
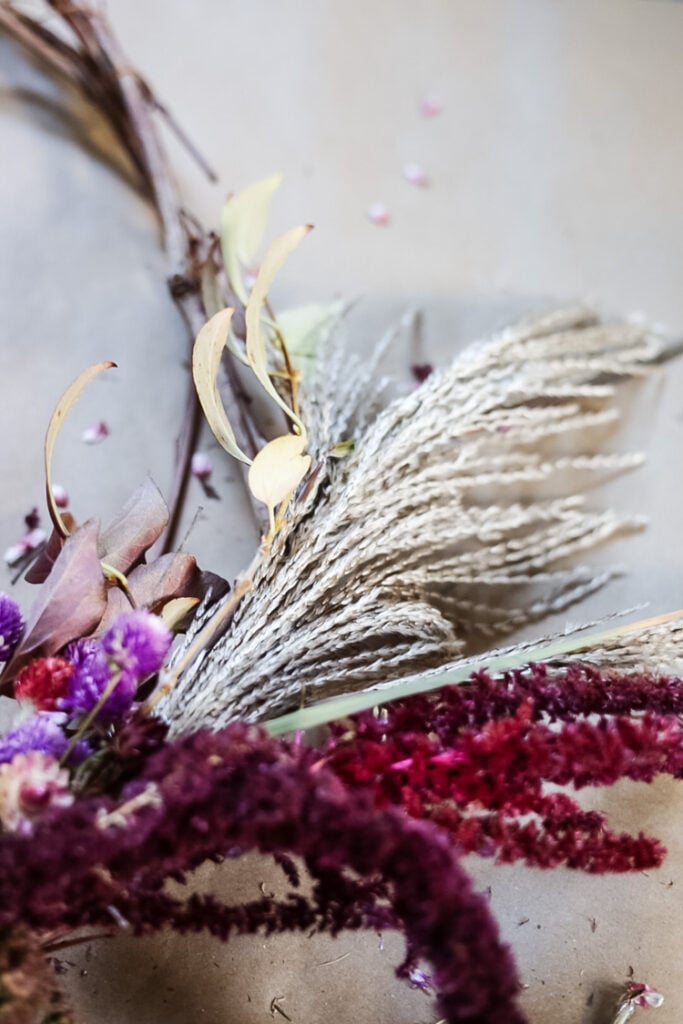
To balance the warm, vibrant colors and add a soft, neutral element, I incorporated a few plumes of ornamental grass. I placed these on the right side of the arrangement, opposite the wheat stalks on the left. This helps to frame the floral cluster and gives the entire wreath a light, airy feel.
The Final Check & Adjustments
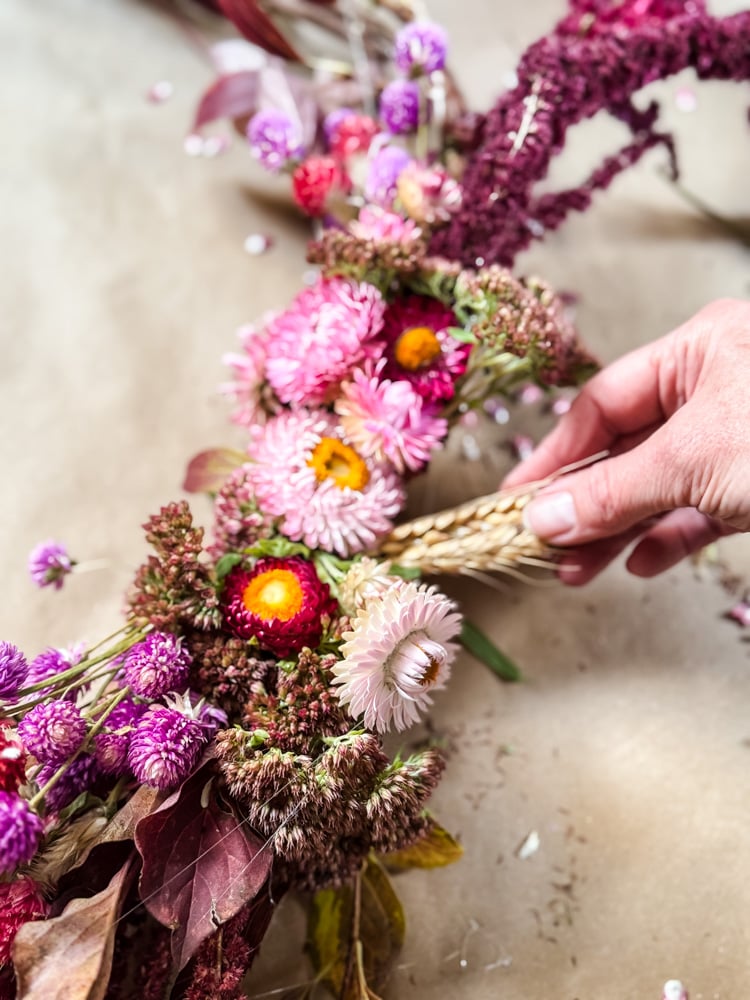
Pro Tip: As you near the end, hang your wreath on a door or prop it upright to view it from a distance. This is the easiest way to spot any unbalanced areas! I did this and ended up adding a few more pieces of wheat, gomphrena, and a couple of strawflowers to fill in sparse spots until it looked just right.
Why This Modern, Asymmetrical Design Works
This approach is a departure from the classic, full wreath, and I love it for a few reasons:
- It Feels Fresh and Intentional: The asymmetrical design is a key element of modern floral art. It creates movement and draws the eye across the piece, making it more dynamic than a traditional circular wreath.
- It Highlights Individual Blooms: By clustering the flowers on one portion of the wreath, each type, the dramatic amaranth, the cheerful strawflowers, the delicate gomphrena, gets its moment to shine.
- It Complements the “Cottage” Style: The airy, grapevine base and the foraged materials keep it from feeling too minimalist or stark. It’s the perfect blend of rustic and refined.
A Tradition of Seasonal Stories
This wreath is more than just a decoration for my front door; it’s a capsule of this specific moment in time. The amaranth that grew especially tall this year, the strawflowers that braved an early frost-they all have a story. That’s the true magic of using what you grow.
This annual ritual grounds me in the season and reminds me that the most beautiful creations often come from simply looking closely at what’s already around us.
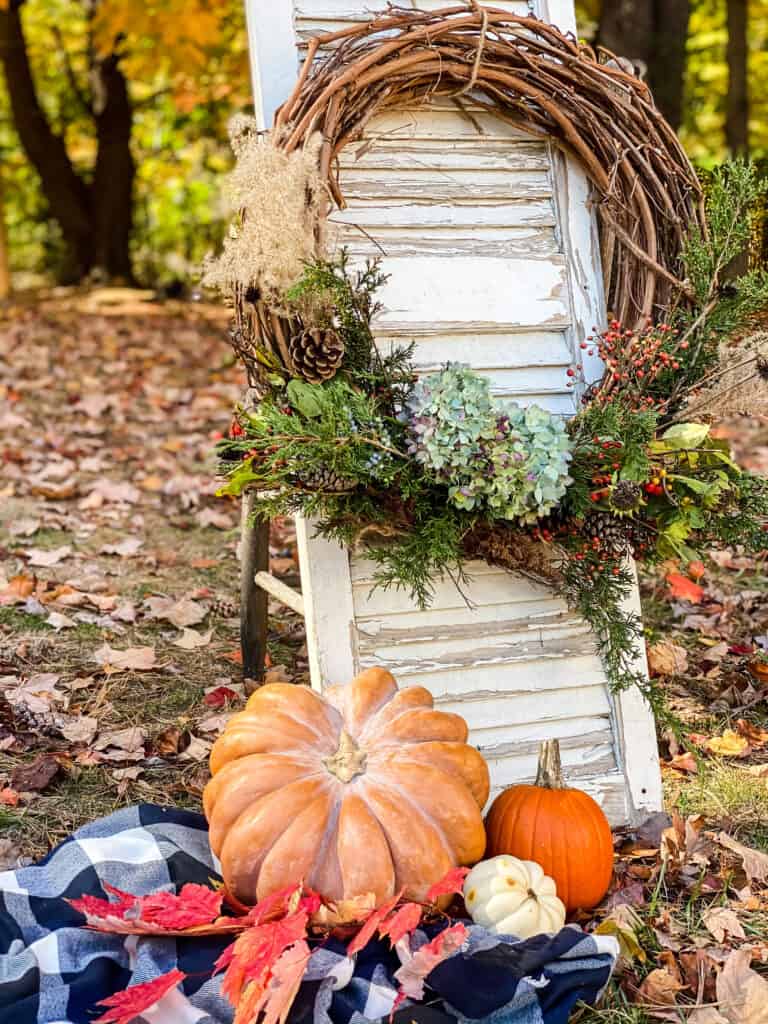
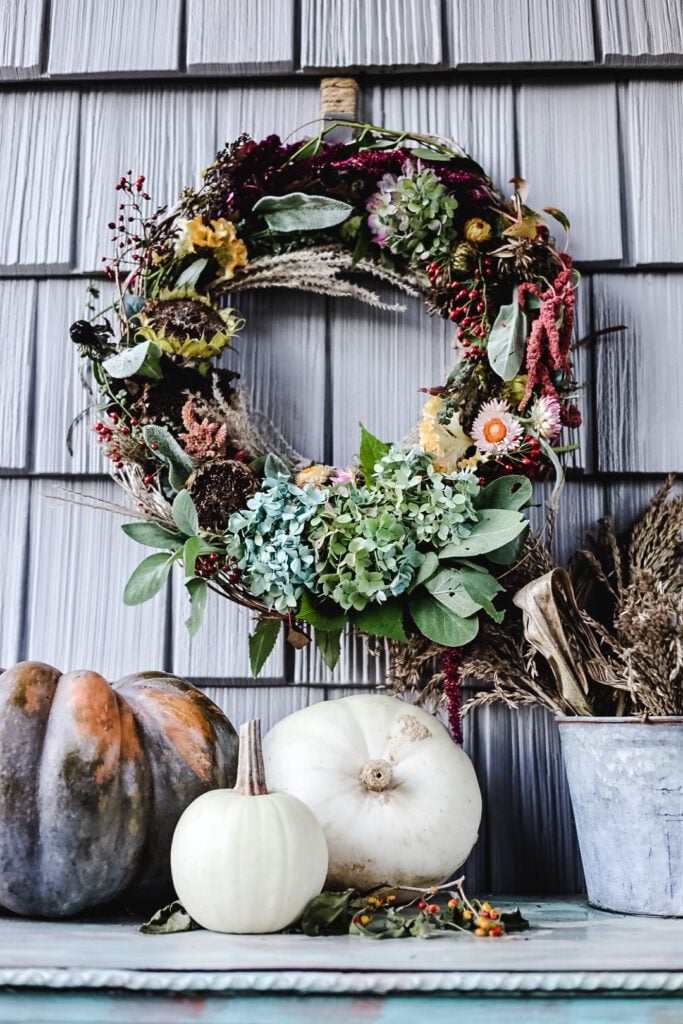
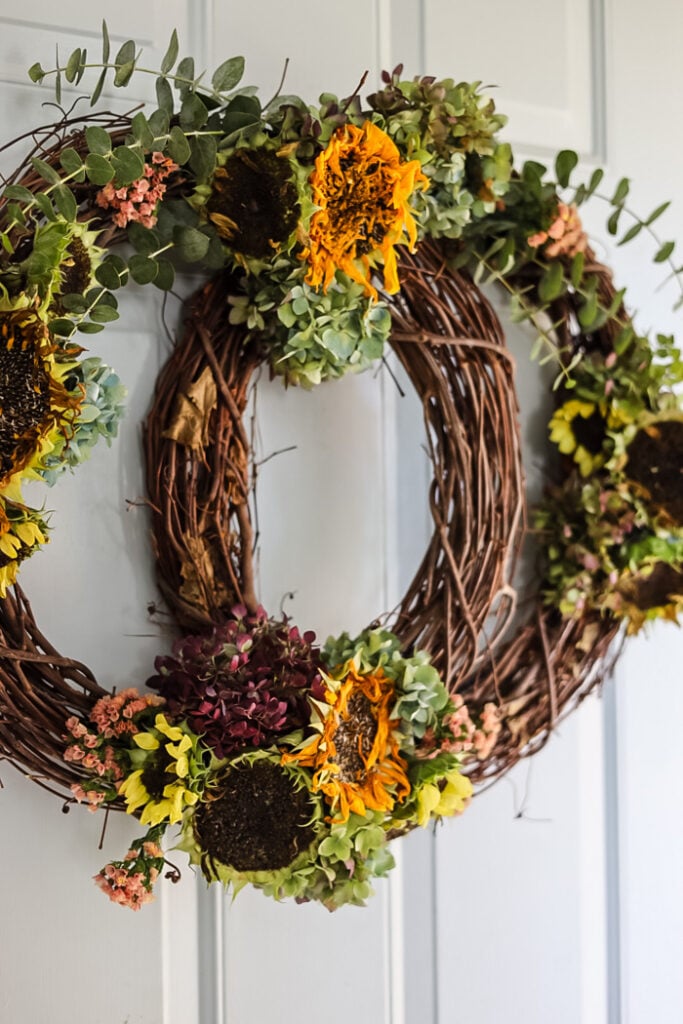
Previous Fall Garden Wreaths
I hope this inspires you to take a look in your own garden or on a neighborhood walk. What could you forage to create your own seasonal masterpiece?
See your projects featured! If you are inspired by this or any of my other DIY projects, I would love to see them and add you to the Reader’s Spotlight gallery. Send a photo to me at jennifer@cottageonbunkerhill.com
xo, Jennifer
my crafting must-haves
shop my amazon store
Love projects like this? Don’t miss out! Join my newsletter family for more cozy, budget-friendly DIY ideas delivered right to your inbox. You’ll get exclusive tips, early access to tutorials, and all the inspiration you need to make your home feel handmade and heartfelt.
Fresh Flower Wreath Collection

Looking for more pretty ideas?See all of our wreath tutorials using fresh flowers & natural materials


So pretty, friend!