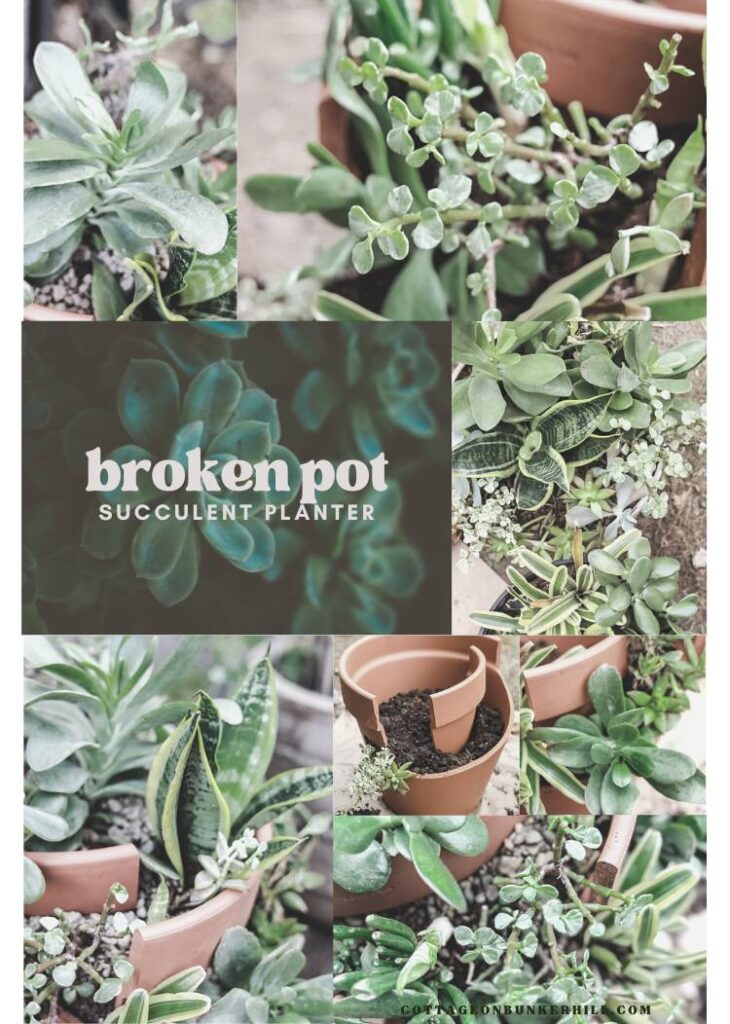
Discover how smashing a terracotta pot created my favorite succulent planter! (Sometimes, a little destruction leads to the most beautiful creations!)
I’ll admit it…I took a hammer to a perfectly good terracotta pot on purpose. Why? Because I had a vision: a rustic, layered succulent planter with nooks for every little plant. The best part? You can do this with a pot you’ve already broken (no guilt required!) or embrace the cathartic joy of strategic smashing.
Whether your pot met an untimely end or you’re like me, deliberately cracking it for crafty chaos, this project turns flaws into focal points. Let’s turn those pieces into a stunning succulent showcase!!
How to Turn a Cracked Terracotta Pot into a Stunning Succulent Planter
This is such a fun and flexible project, and you can make it completely your own! While I’ve used succulents here, the same technique would work beautifully with trailing annuals like calibrachoa (imagine those colorful blooms cascading over the broken edges!) or even a handy kitchen herb garden. The broken pot layers create perfect little pockets for all sorts of plants!
This post may contain affiliate links, which means we receive a small commission if you purchase through our links. See our disclaimer page for more information.
What You Will Need
(Flexible & Foolproof!)
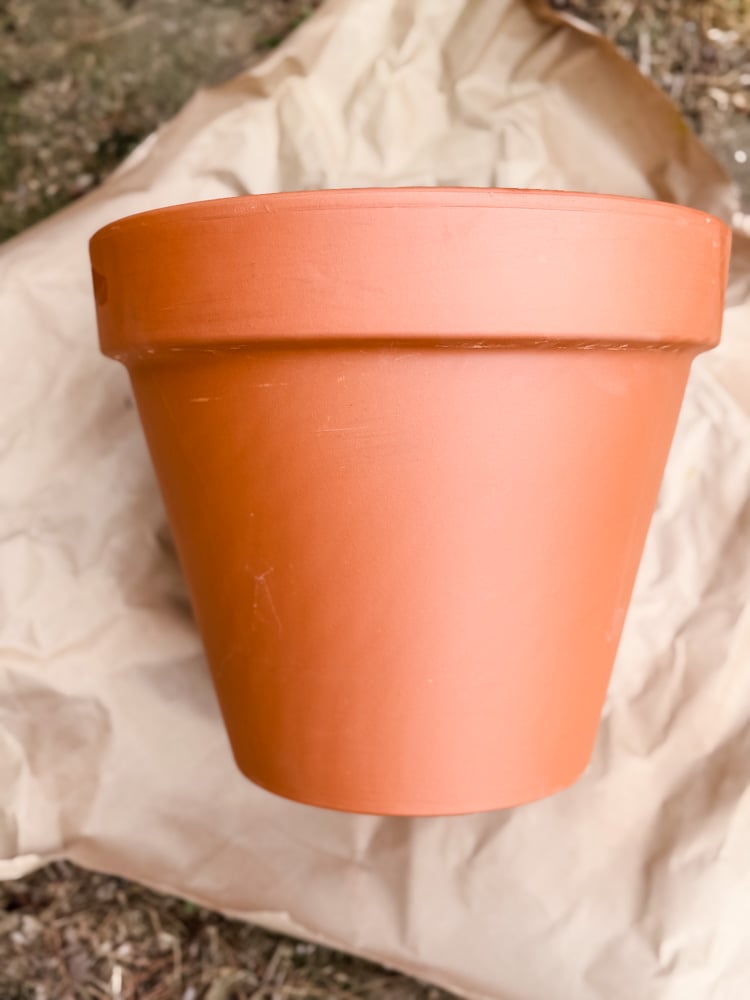
1. The Pot:
- Option 1: A new or undamaged terracotta pot (any size-I used a large one, but small pots work too!). If you live near an Ocean State Job Lot store, they have the best price on large planters; this one was $12!
- Option 2: Already cracked/broken pots (dig through your garden stash—flaws are free design features here!).
2. Tools for Intentional Breaking (Skip if your pot’s already broken!):
- Hammer (a basic claw hammer works)
- Safety gloves & goggles (terracotta shards fly!)
- Old towel (to wrap the pot in before breaking)
3. Planting Supplies:
- Succulent soil mix (well-draining is key!)
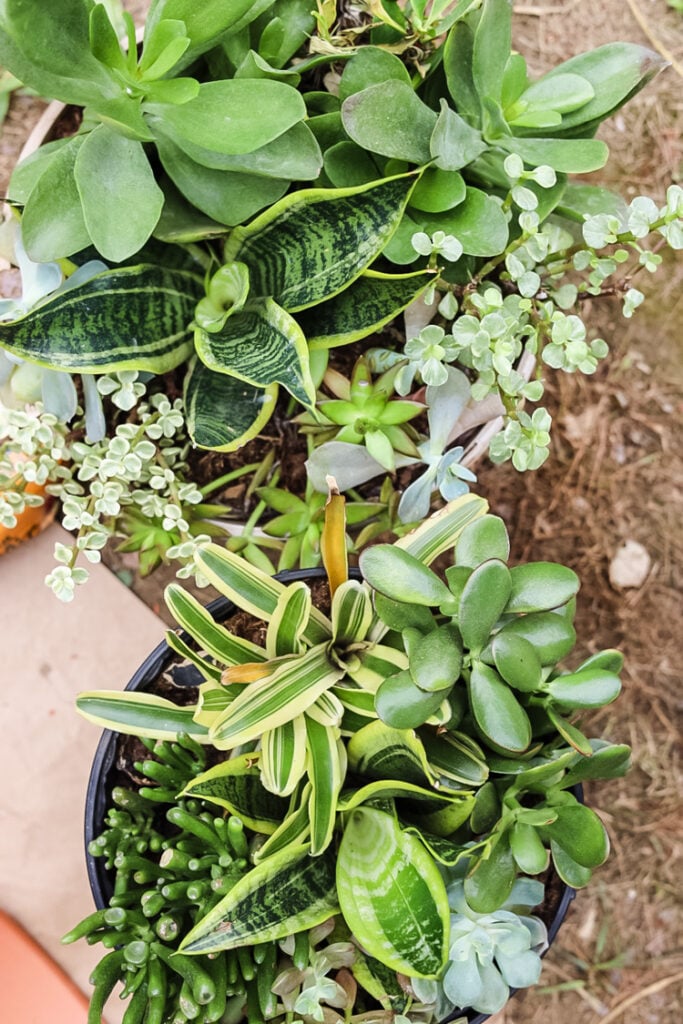
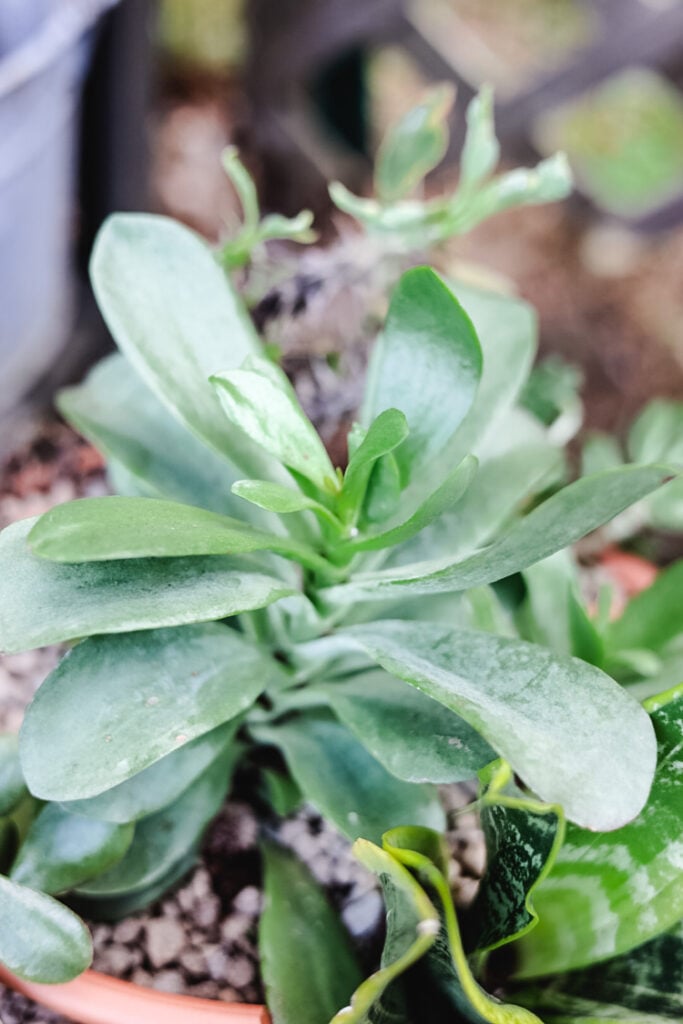
- Assorted succulents (Scale to your pot’s size: tiny varieties like hens-and-chicks for small pots, larger echeverias for big planters.)
- Optional extras: Decorative pebbles, moss, or sand for topping.
Materials for this Project
- Large terracotta pot (or cracked/broken one)
- Hammer (if breaking intentionally)
- Safety gloves & goggles
- Old towel
- Succulent potting mix
- Assorted succulents
- Optional: Moss, pebbles, or decorative sand
Step-by-Step: Broken Terracotta Succulent Planter
Let me walk you through step-by-step on how to make your own broken terracotta planter at home. Gather all of the materials before starting, and find a flat spot outdoors to work.
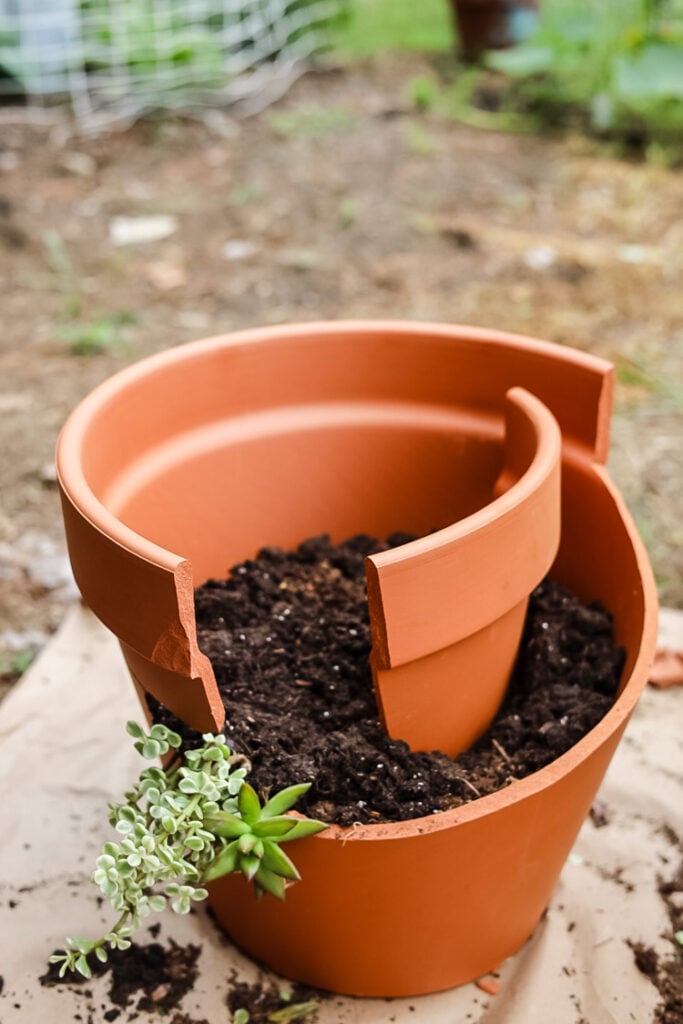
Step 1: Break the Pot (Or Skip If Already Broken!)
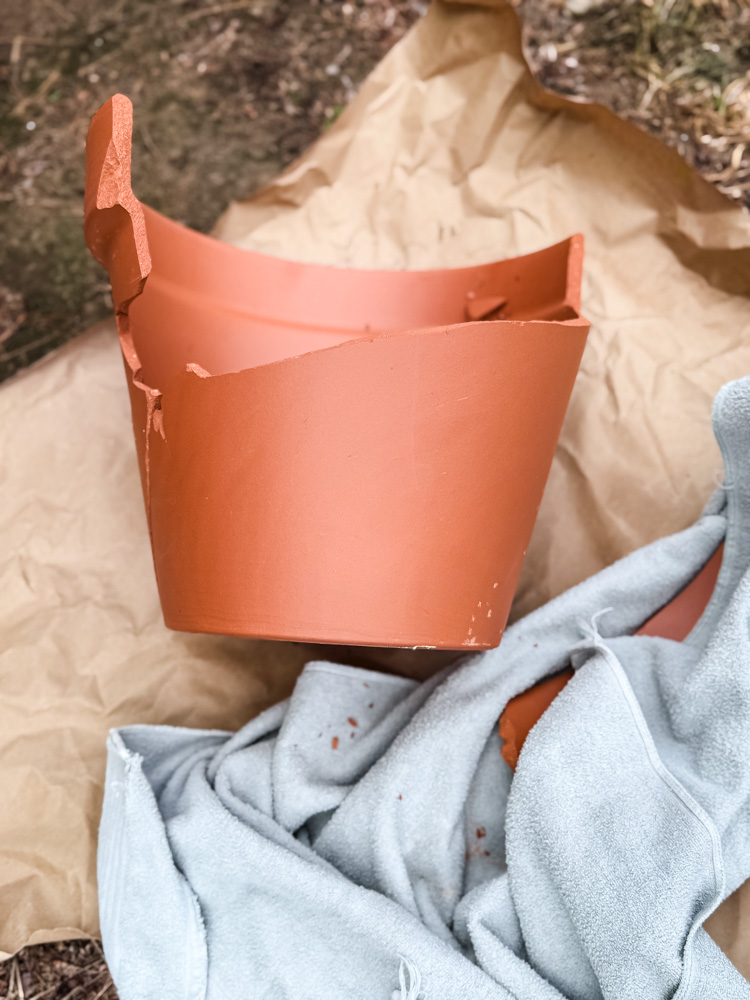
- Safety first! Wear gloves and goggles. Lay the pot on a soft surface (grass/towel) to control shards.
- Aim for drama: Strike the rim with a hammer to create 2-3 large pieces and a front opening. (Tip: Wrap pot in a towel for cleaner breaks!)
- Don’t stress perfection—rustic edges add character!
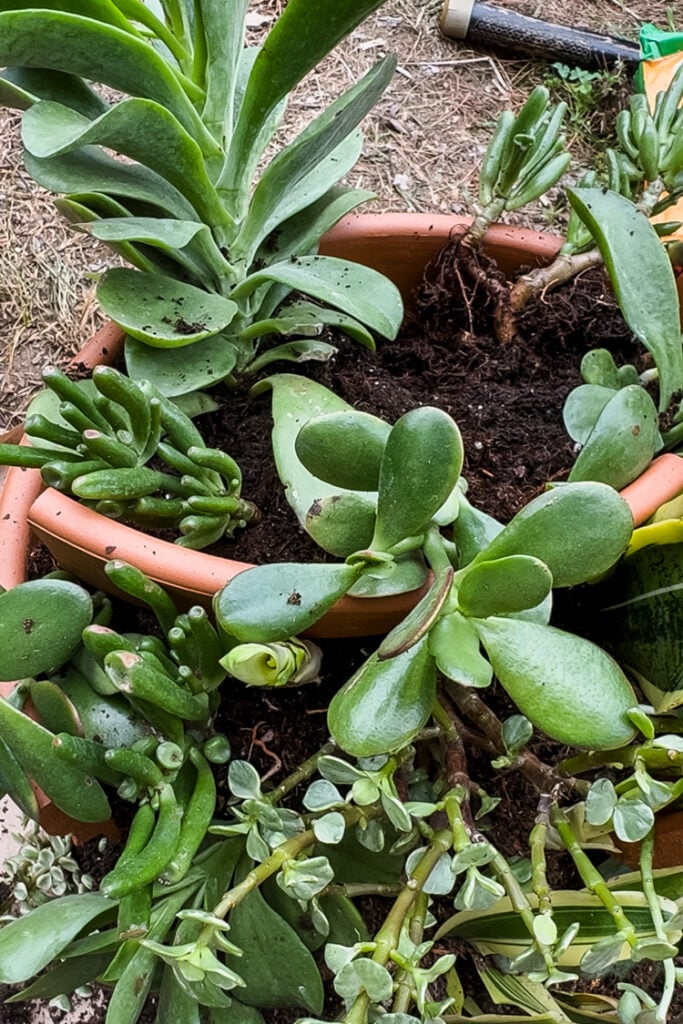
Step 2: Dry Fit Your Layout
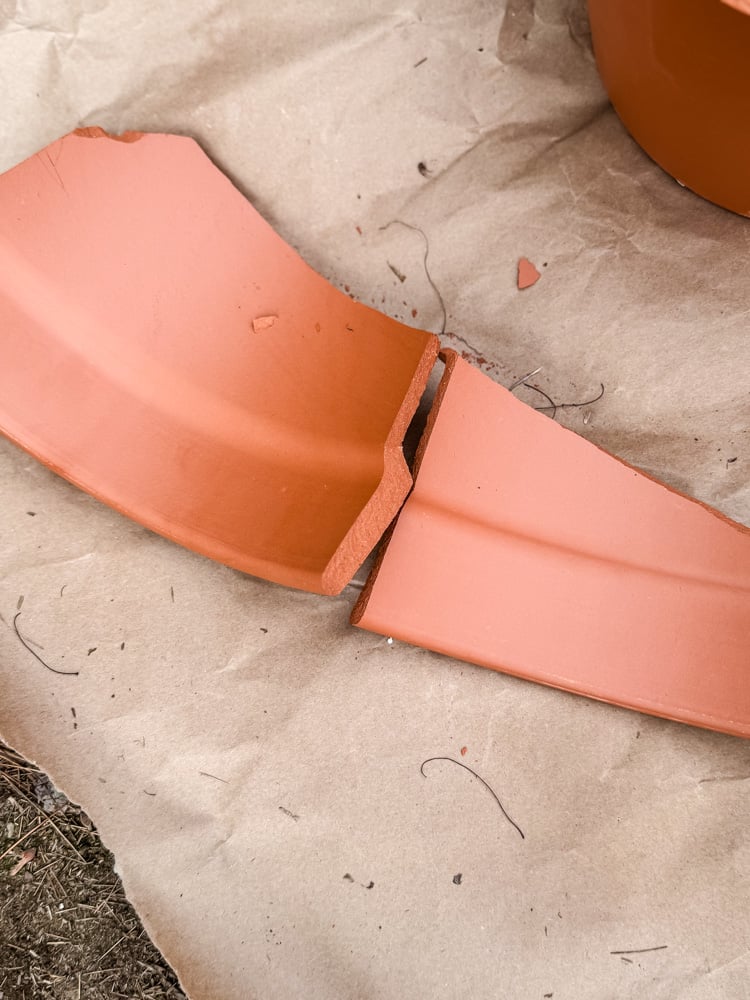
Before adding any soil, I took time to experiment with the broken pieces. Holding them in the empty planter, I shifted them around, testing different angles and heights until I found the perfect arrangement. This dry run made the actual planting process so much smoother!
- Arrange the broken pieces inside the largest pot segment like a puzzle.
- Play with levels and angles.
Step 3: Layer Soil & Plants (The Secret to a Lush Look!)
Level 1: The Foundation
- Fill the base of the planter with succulent potting mix (about 1/3 full).
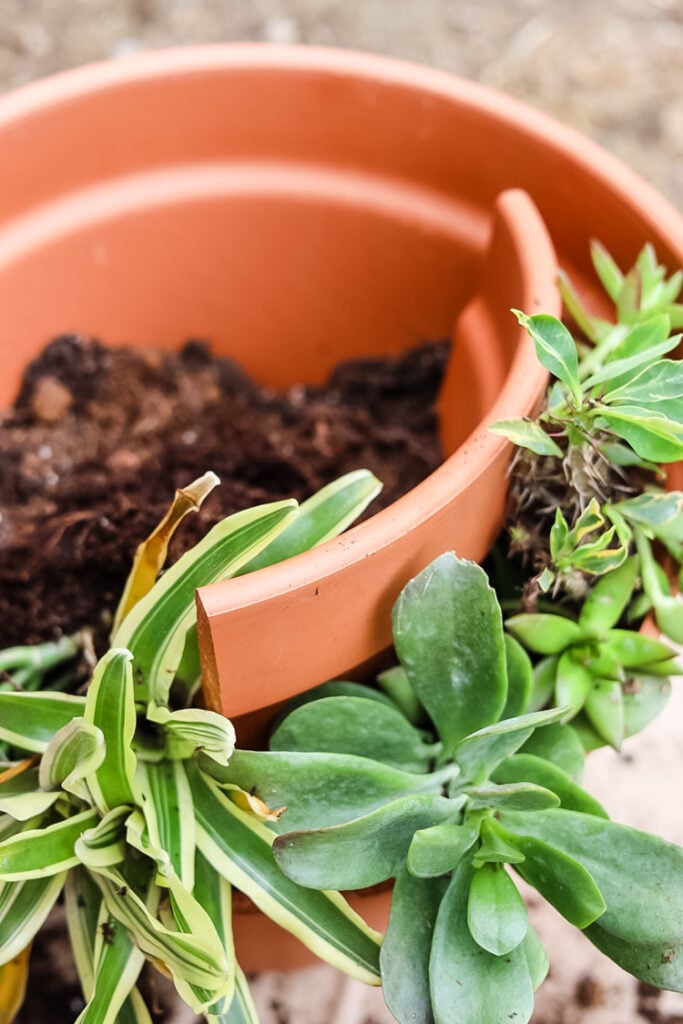
- Trailing magic: Tuck trailing succulents into the front crevice-they’ll spill over the broken edge as they grow!
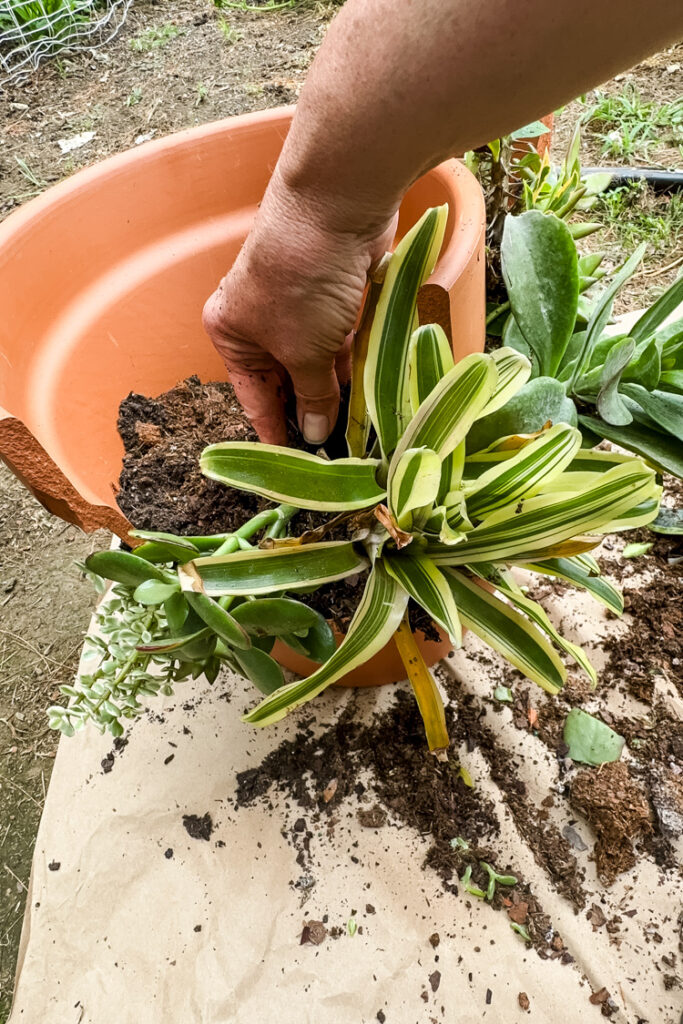
Level 2: The Middle Tier
- Add more soil, then place your first broken terracotta piece at an angle to create elevation.
- Grab more interesting succulents (like echeverias) to use in front of the pot, they’ll frame it beautifully!
- Tuck in smaller pieces of succulents into the small crevices to fill up the space (some of the trailing succulents are easy to separate into smaller plants)
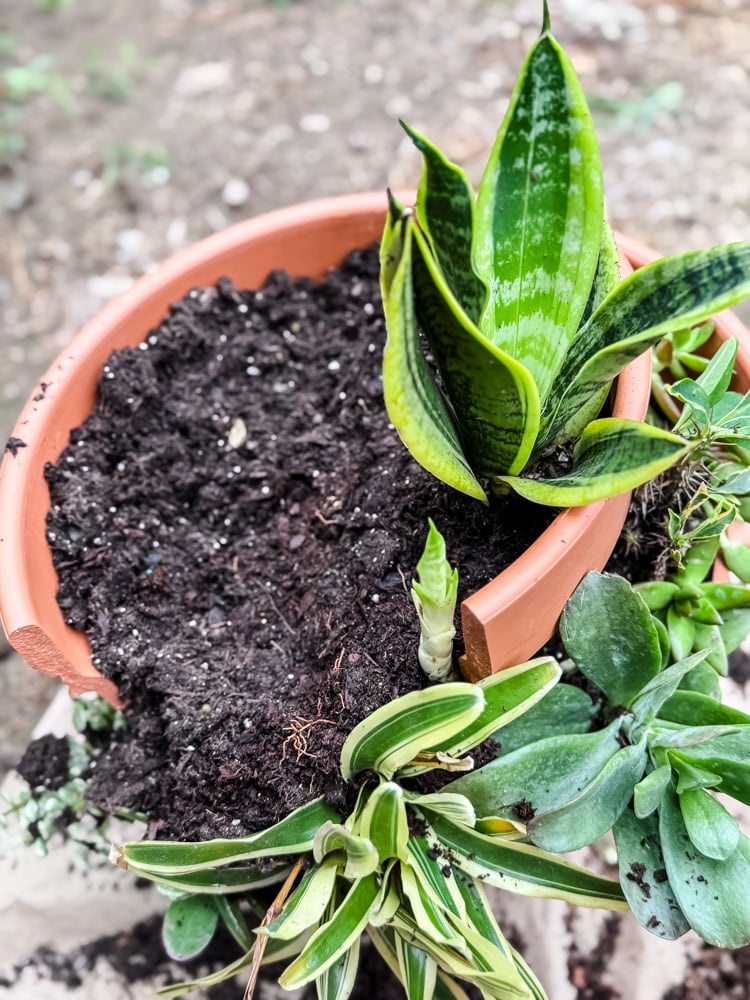
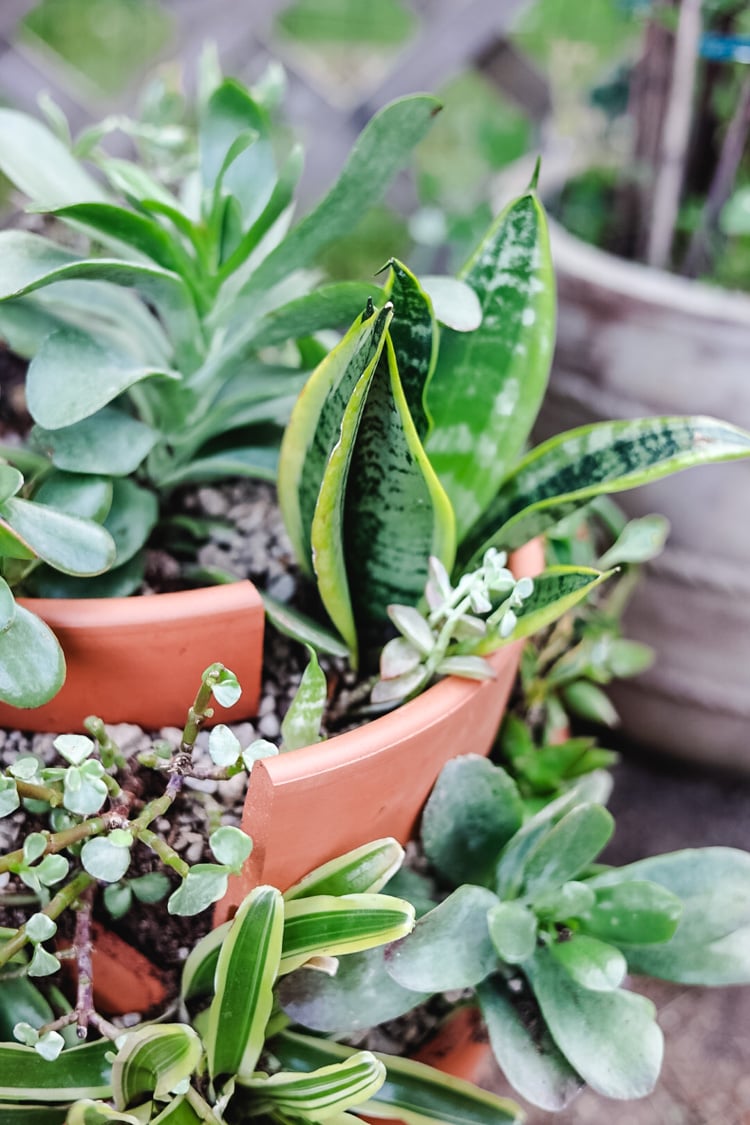
Level 3: The Crowning Touch
5. Fill behind the middle tier with soil, then add your final broken piece as the top “shelf.”
6. Go tall: Plant upright varieties (aeoniums or crassulas) here for height and drama.
Tip: Pack soil firmly around each level to stabilize the pieces
Shortcut for Small Planters:
Only have two levels? Skip the middle tier—just do a base (with trailers) and a single elevated piece with taller succulents!

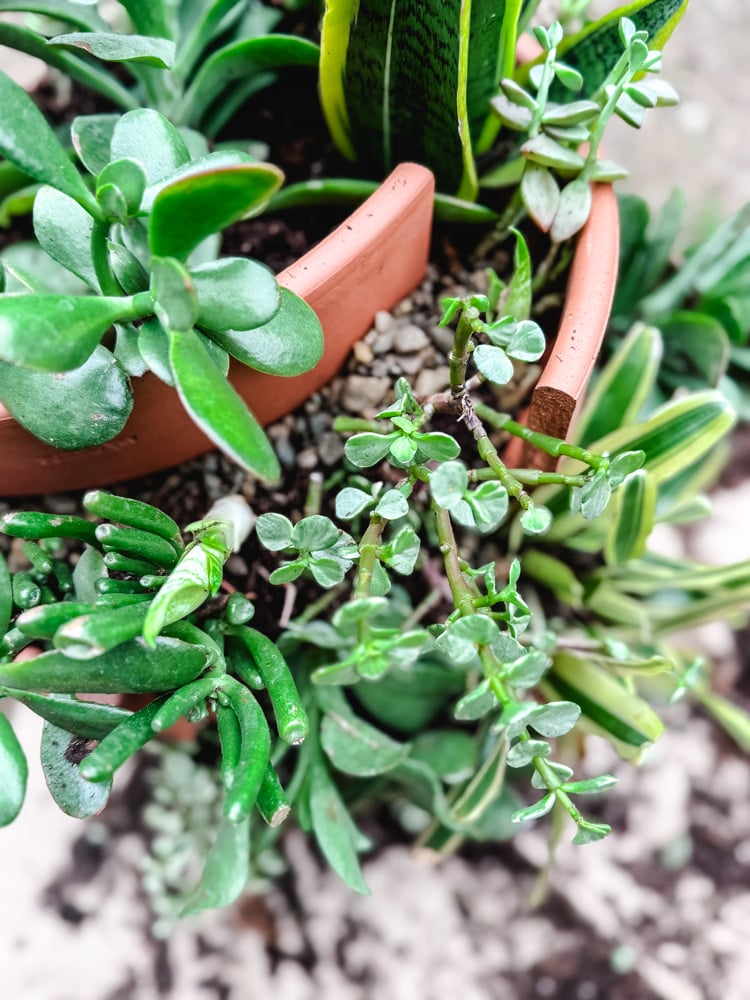
Step 4: Secure & Decorate (Optional)
- Stabilize wobbly pieces by pressing soil firmly around them.
- Top dressing: Sprinkle sand, decorative stones, or pebbles to hide soil and reduce mess. I had pebbles leftover from my recent fairy tree garden project.
- Moss would work too, and look natural.
- For a little whimsy, add a fairy figurine and mushrooms!
Step 5: Water & Settle In
- First watering: Lightly mist/water the planter to moisten the soil and also to wash away dirt that has lodged inside the succulents.
- Placement: Set in bright, indirect light while plants establish. (hot summer sun could scorch the succulents if they were kept away from natural sunlight)
- Terracotta dries fast—check soil weekly!
7 Pro Tips for Thriving Outdoor Succulents
- Sun Exposure
- Morning sun with afternoon shade is ideal. Terracotta absorbs heat quickly so rotate pots periodically to prevent sunburn on leaves.
- Watering Technique
- Water deeply but infrequently, allowing soil to dry completely between sessions. The porous nature of terracotta helps prevent overwatering, check moisture through the broken edges or drainage crevices.
- Drainage Matters
- It’s important to use a planter with drainage holes on the bottom.
- Wind Considerations
- Tall succulents in elevated tiers may need anchoring. Use small rocks or pebbles to stabilize plants until their roots take hold.
- Seasonal Adjustments
- During wet seasons, angle your planter slightly to encourage water runoff through the broken openings.
- A favorite trick of mine?
- Propagate leggy stems by snipping and replanting pieces in bare soil gaps. It’s an easy way to fill out your arrangement over time
- Winter Protection
- In cold climates, relocate terracotta planters indoors by a sunny window.
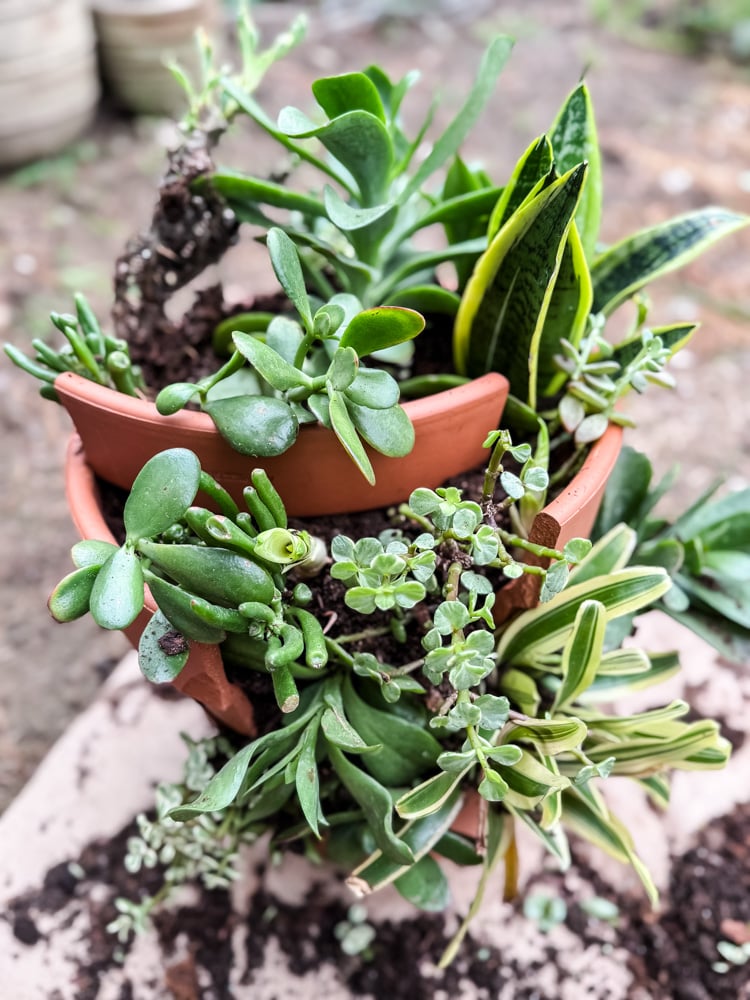
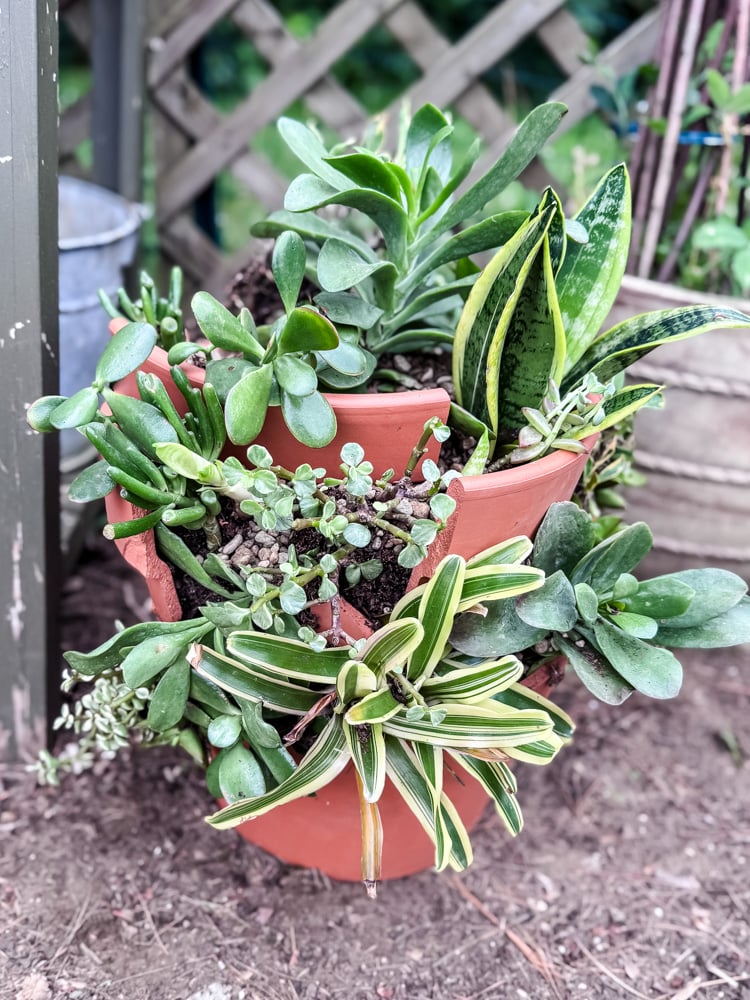
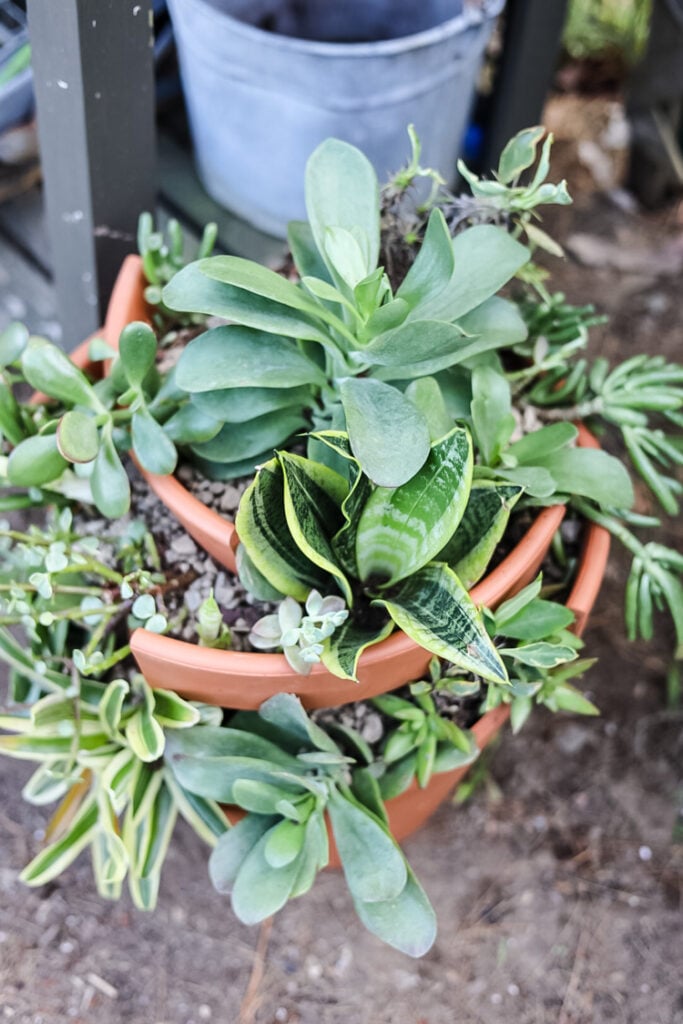
The Big Reveal: A Rustic Succulent Masterpiece
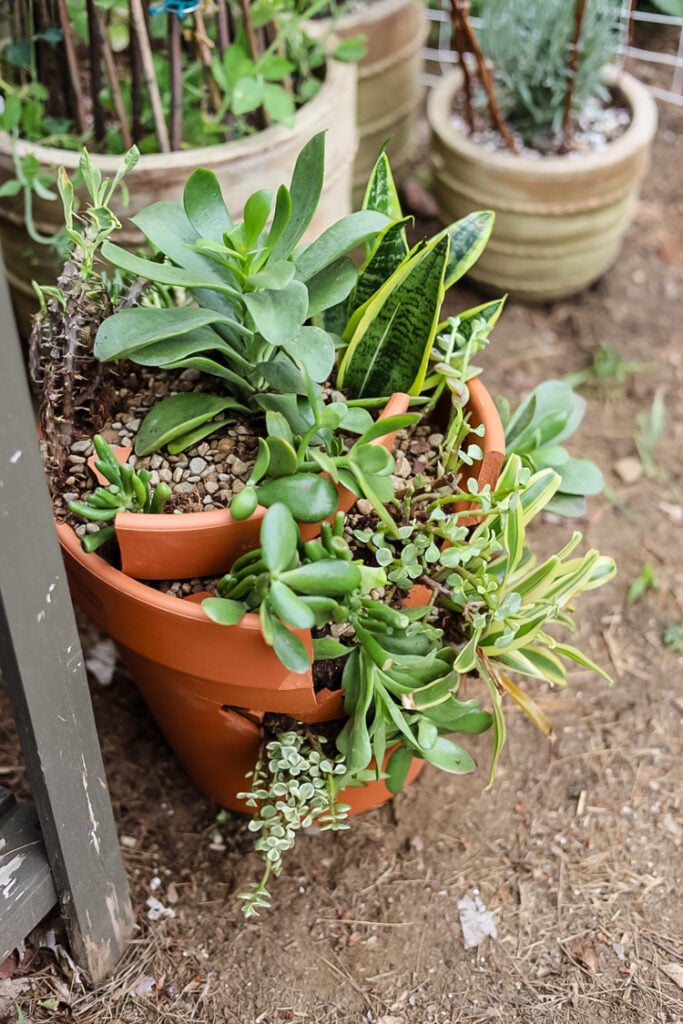
And just like that, what was once a pile of broken terracotta is now a thriving, textured succulent showcase! This project proves that with a little creativity:
- “Broken” becomes the design feature (those jagged edges add so much character!)
- Layers create depth (from trailing stems at the base to statuesque rosettes up top)
- Terracotta’s porosity works overtime (keeping succulents perfectly dry between waterings)
The best part? Watching how the plants grow into their new nooks over time. Each crevice becomes its own tiny ecosystem!
featured
upcycled planters
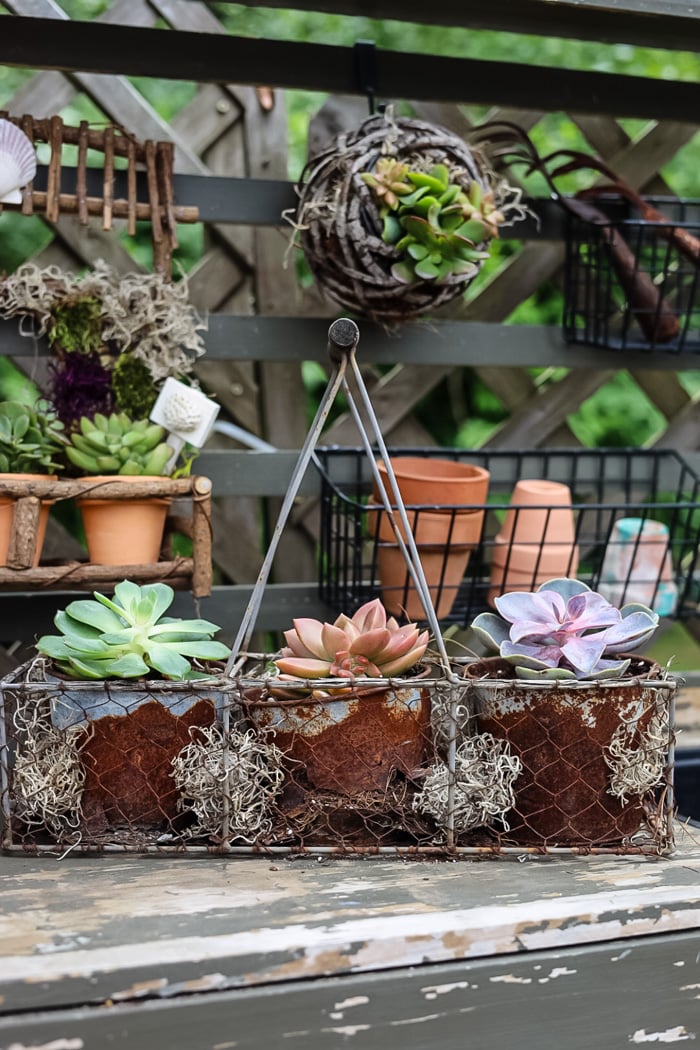
more clever ways to display succulents in the garden.
A Project That Surprised Even Me
I can’t overstate how much fun this broken terracotta planter was to make! From the satisfying crack of the hammer to the final moment when all those succulent layers came together. There’s something so fun about watching jagged shards transform into intentional, artful levels, each with a different plant personality. The contrast of rough terracotta edges against soft, plump succulents creates such intriguing texture, and the way the trailing varieties spill through the cracks feels wonderfully organic.
It’s alive, ever-changing, and far more dynamic than any pristine pot I’ve ever planted. This project reminded me that gardening isn’t just about growth; it’s about playfulness, experimentation, and embracing the beauty of “imperfect” materials.
If you’re looking for a weekend project that’s equal parts therapeutic and striking, grab that chipped pot (or a hammer!) and let your creativity run wild. Trust me, you’ll smile every time you walk past it.
Now, I’d love to hear: Will you try this with succulents, herbs, or something unexpected? Share your spin in the comments!
See your projects featured! If you are inspired by this or any of my other DIY projects, I would love to see them and add you to the Reader’s Spotlight gallery. Send a photo to me at jennifer@cottageonbunkerhill.com
xo, Jennifer