
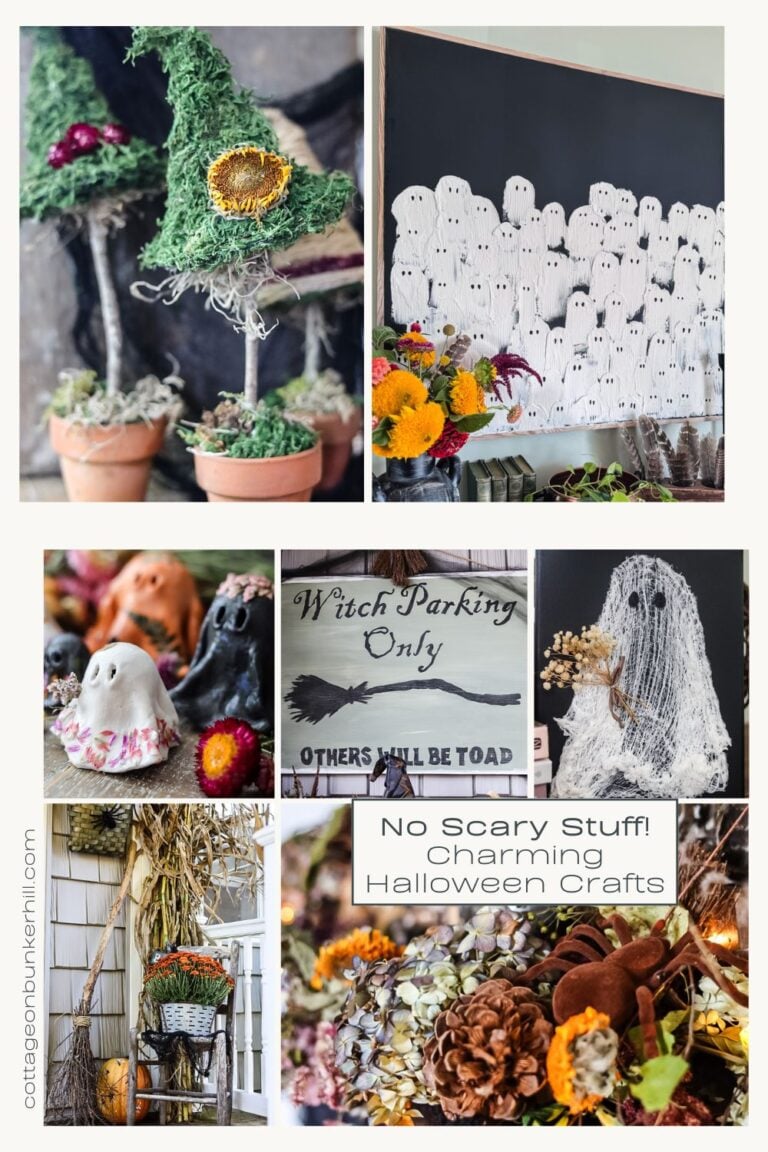
Move over, pumpkins! There’s a new Halloween decor star in town! These adorable DIY ghost canvases are taking over homes (and social media) this Fall, and for good reason: They’re creepy-cute, crazy easy to make, and cost almost nothing if you upcycle an old canvas. Even better? No fancy skills required. Just grab some joint compound, cardboard, and make some friendly little phantoms!
DIY Halloween Ghost Wall Decor Tutorial
The Backstory & Why You’ll Love This Project
I first spotted the original ghost canvas online at a popular craft retailer (you know the one!), and soon after, my social feeds were flooded with creators putting their own spin on it. Obviously, I had to try it myself…and I knew my readers would love this playful, on-trend project for Fall!
The best part? This DIY is beginner-friendly and seriously simple to recreate. The ghosts are made with just joint compound and cardboard, and the imperfect, handmade look only adds to their charm. (Though fair warning: It’s a bit messy; you’ll get some drywall mud on your hands, but it washes off easily!)

This post may contain affiliate links, which means we receive a small commission if you purchase through our links. See our disclaimer page for more information.
Here’s What You Need
For my version, I upcycled a large 36″x36″ framed abstract painting that met an untimely end (thanks to a rogue spray of bleach cleaner~RIP, original artwork!). But don’t worry, you don’t need a damaged heirloom to make this work:
- Thrift it: Hunt for framed canvases at yard sales or thrift stores (avoid heavy texture as smooth surfaces work best).
- Buy new: A blank white canvas from the craft store works perfectly.
- Easy: You can buy black art canvases (no painting required!!)
- Go big (or small!): Scale this project to any size, from a dainty 8″x10″ to a statement-making oversized piece like mine.
Materials for this Project
- Old framed canvas or
- Blank canvas
- Black canvas
- Matte black spray paint (or acrylic paint)
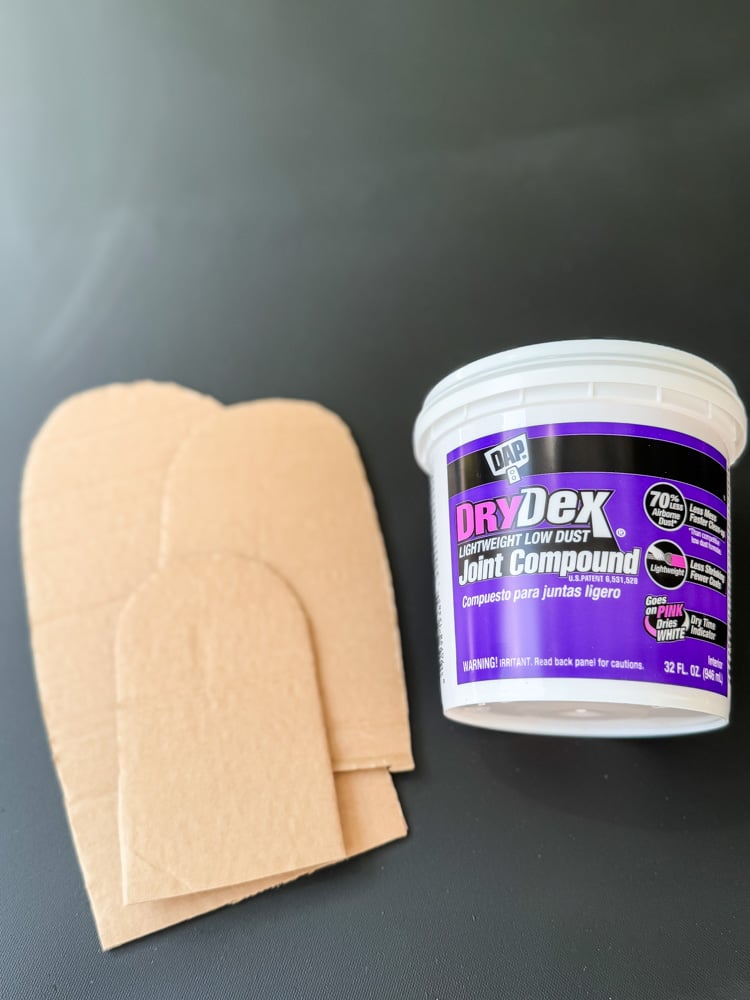
- Joint compound
- Scrap cardboard
- Black acrylic craft paint (for eyes)
- Small detail paintbrush
- Something to protect your work surface (tarp, newspaper, etc.)
Shop Supplies:

Step-by-Step Tutorial: How to Make Your Own Ghost Canvas Art
1. Prep Your Canvas
Give it a coat of black spray paint (or brush on acrylic) and let it dry.
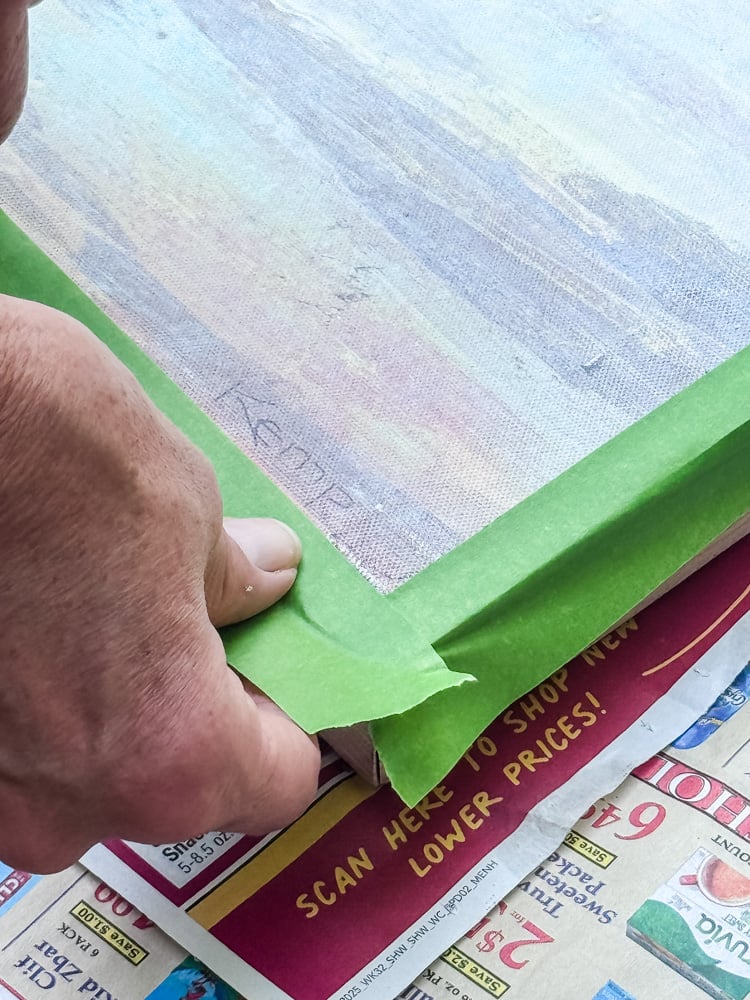
Since I am using a framed art canvas that I already had, I needed to tape off the frame with painter’s tape to keep it clean. I’m working with such a large canvas (36in x 36in), so I thought that spray paint would be an easier option for this project.
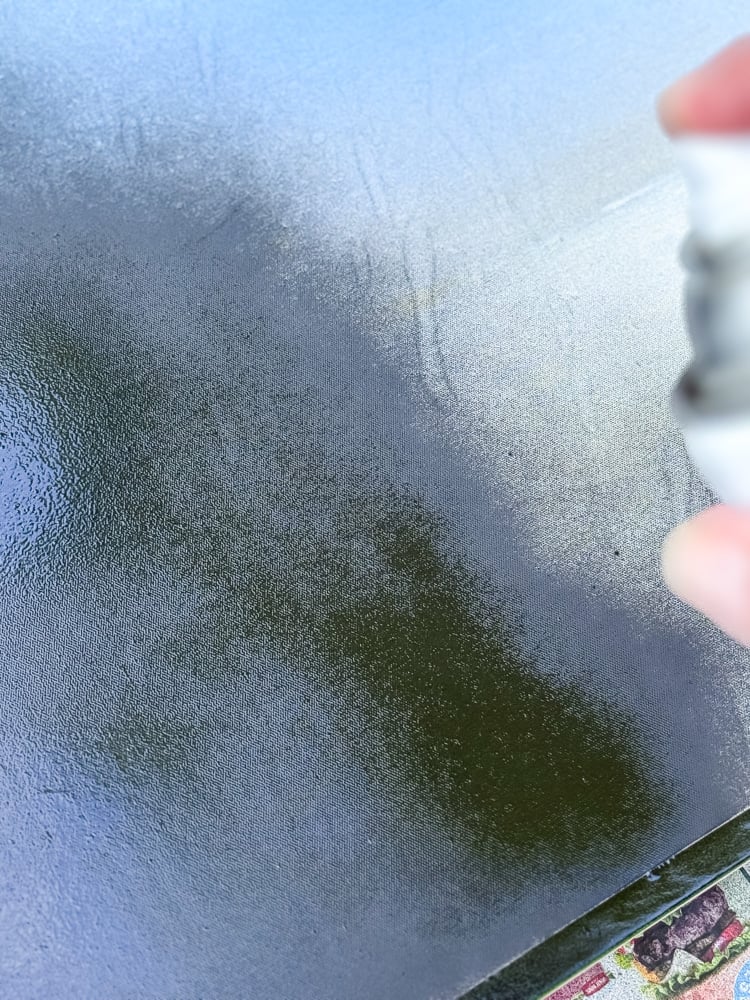
Acrylic craft paint is another option, especially if you can’t get outside to spray paint. Either way, you may need more than 1 coat of paint for even coverage.
How To Make Your Ghost Template
You will need a piece of cardboard to create the templates for the ghost canvas. The size of your ghosts will depend on how large a canvas you are going to make.
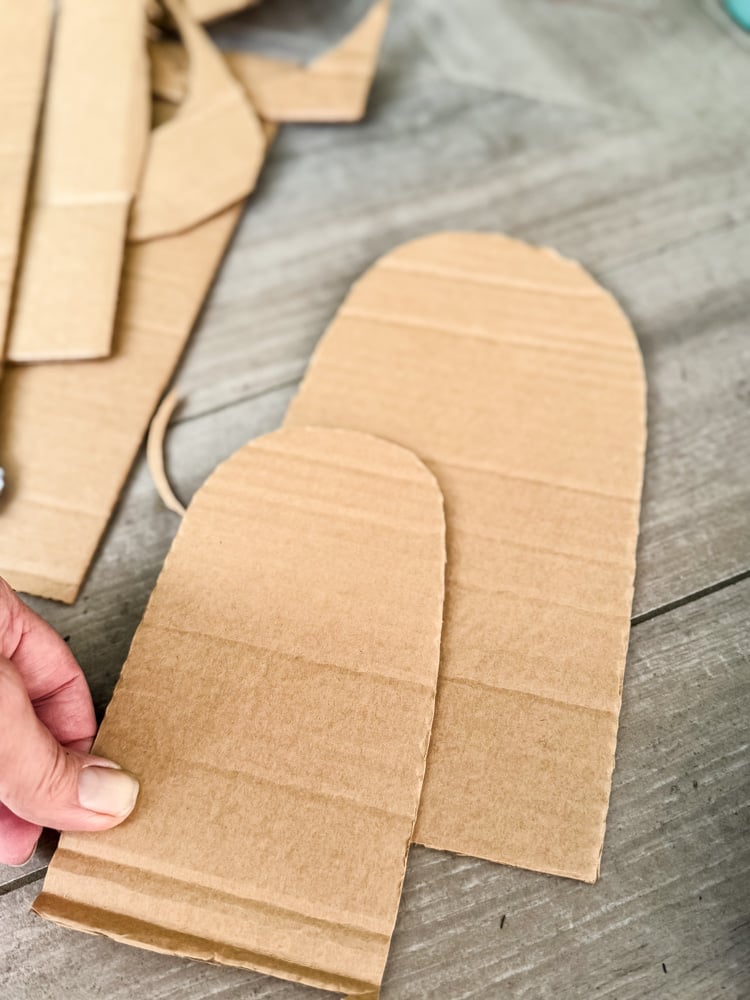
Grab a piece of cardboard and cut out 2-3 ghost silhouettes in staggered sizes but the same basic shape. No perfection needed!
It doesn’t matter how long the ghosts are; the top rounded end of the cardboard is what we will load up the joint compound on and swipe down the canvas.
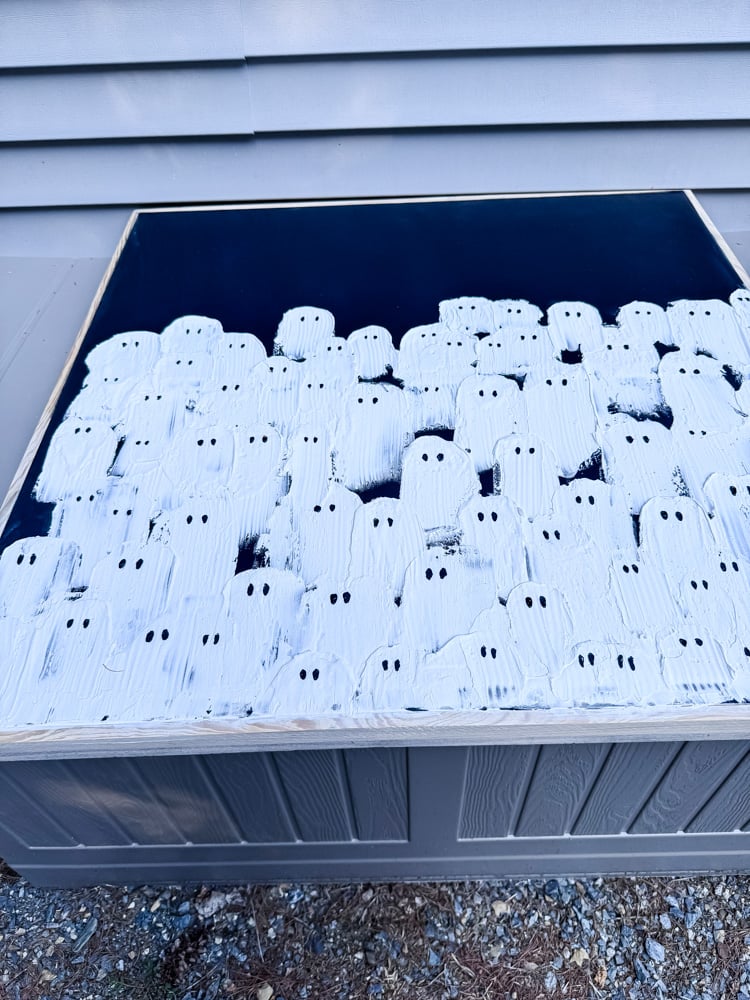
Step 2: Create Your Ghostly Parade
This is where the magic happens! We’re using a wiping technique to create ghosts that look like they’re floating down the canvas.
- Plan Your Layout: I started by leaving the top third of my canvas blank to act as the “night sky” and create important negative space. I lightly made a few test ghosts in different spots to map out where I wanted my ghostly procession to end. This helps prevent accidentally painting yourself into a corner!
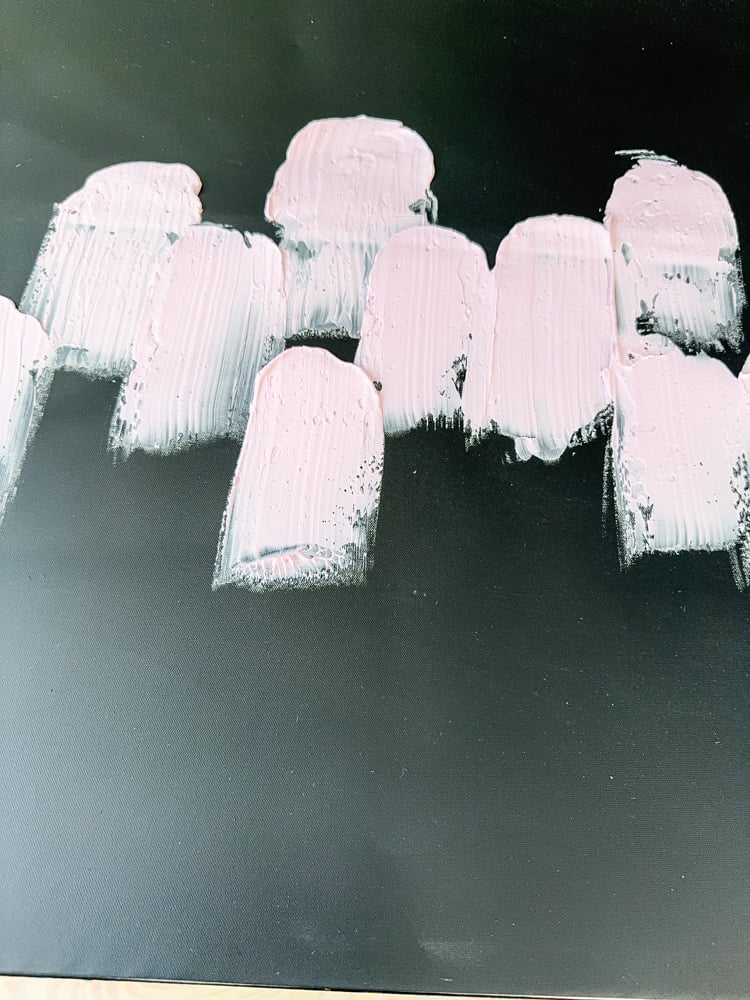
- The “Dip and Wipe” Method:
- Dip: Take one of your cardboard ghost templates and dip the rounded, bottom end into the joint compound. Don’t worry about coating the entire shape, just the top portion.
- Wipe: Firmly press the compound-covered end onto the canvas and, in one smooth motion, wipe downward. This action creates the ghost’s rounded head and its wispy, trailing body. The pressure will naturally lighten as you pull down, making the bottom of the ghost fade away—perfect for that floating effect!
- Lift: Gently lift the cardboard away. You’ll see the perfect ghostly impression left behind.
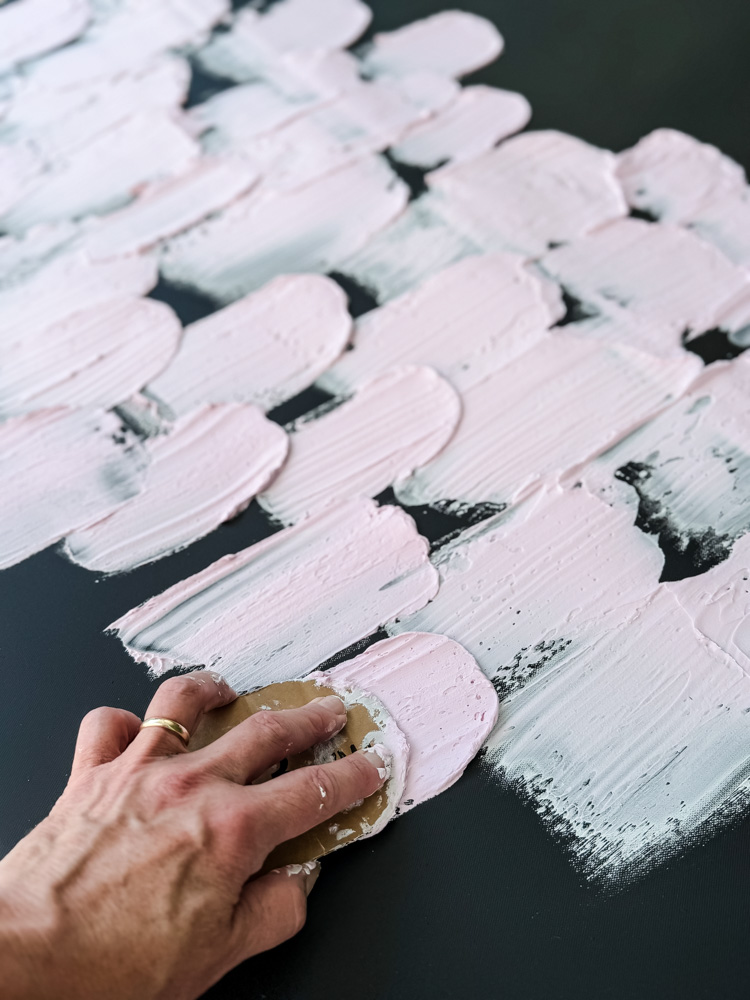
- Create Variation and Depth:
- Use your different-sized cardboard templates randomly to create a crowd of unique spirits.
- The key is to overlap the ghosts! Don’t be afraid to have them drifting in front of and behind each other. This overlapping is what gives the piece depth and makes it look like a whole flock of phantoms.
- Let it Dry: This is crucial. Your masterpiece needs to dry undisturbed overnight until the joint compound is completely hard and white to the touch.
Step 3: Paint the Eyes
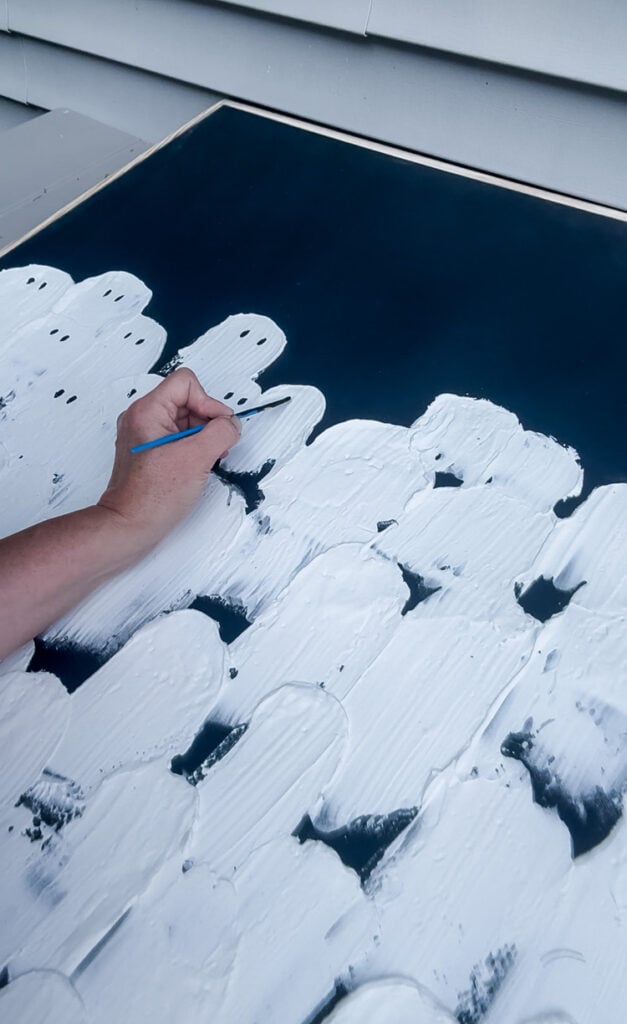
Once the ghosts are fully dry, it’s time to give them personality!
- Use black acrylic paint and a small brush to dot on eyes.
- Classic look: Simple oval or round eyes.
- Playful vibe: Try surprised circles, sleepy half-moons, or even tiny hearts!
Pro Tip: I always made sure the end of my brush was loaded with paint, so I just had to tap the brush down onto the ghost to create the eyes
Optional: Seal
Spray with matte clear sealer. This prevents chipping and makes the ghosts slightly more durable. I did not seal my project.
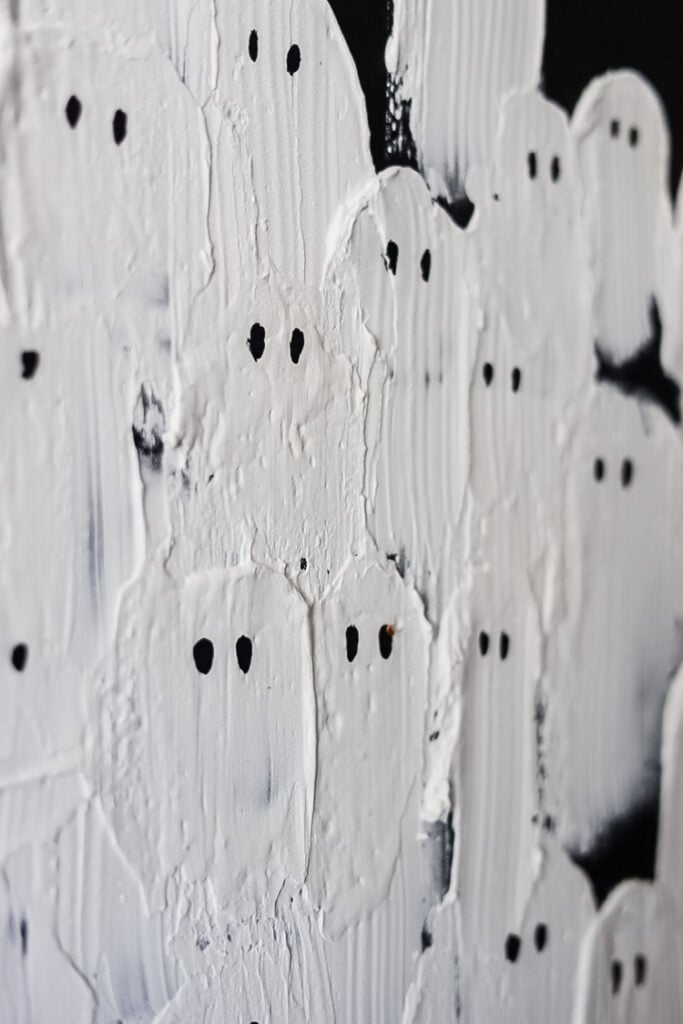
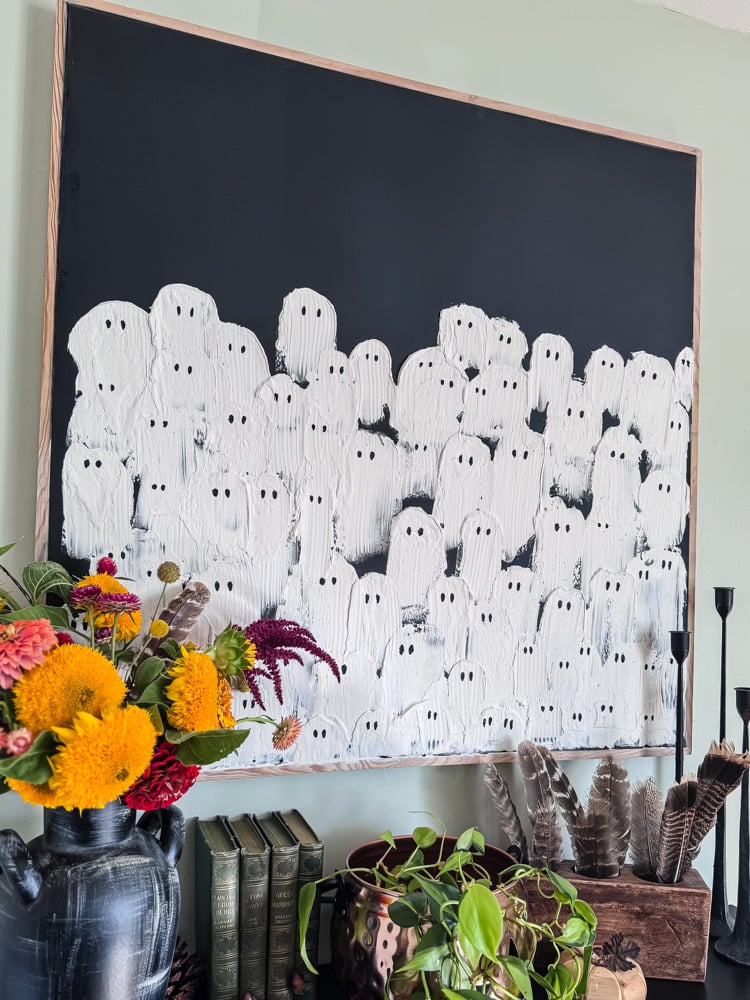
The Final Reveal: Spooky-Chic Halloween Magic
I am thrilled with how this ghost canvas turned out. The texture from the joint compound gives each ghost so much dimension and a almost chalky, ethereal quality, and the varied sizes make it look like a lively little phantom party is happening right on my wall. It’s the perfect mix of spooky and sweet. This is exactly the kind of Halloween decor I love (I don’t like scary!)
You can see me make it in 20 seconds in my video
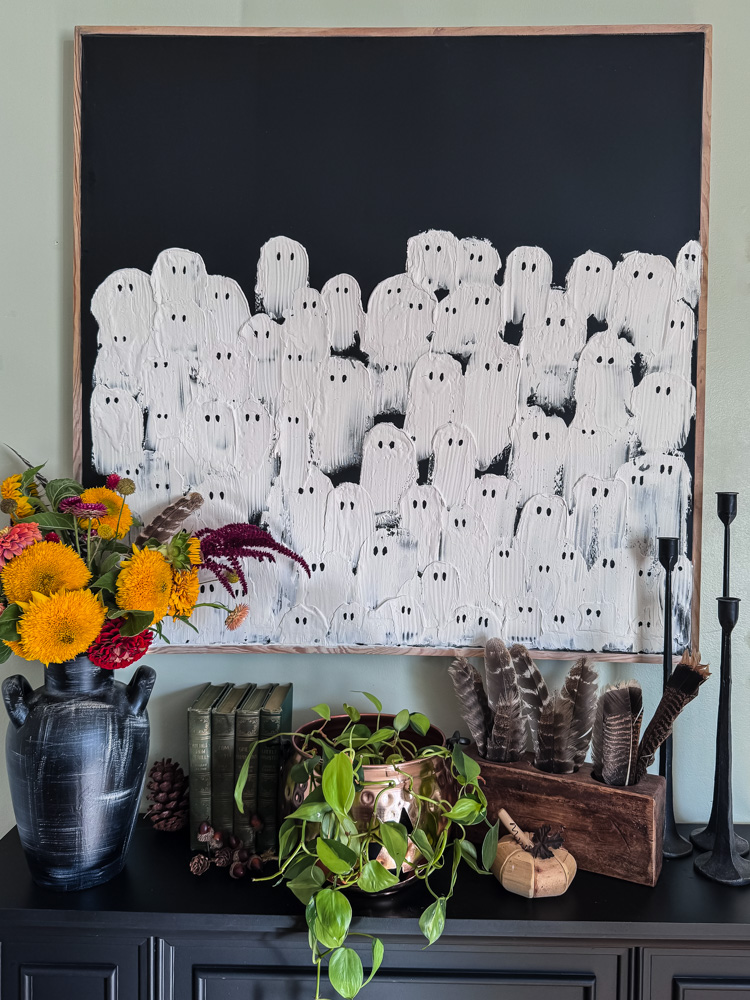
Styling This Piece in Your Home
The best part about a statement piece like this is how easy it is to style. I hung mine centered over my fireplace mantel. The large scale fills the space perfectly and instantly becomes the focal point of that part of the living room.
Here are a few more ideas for styling your own ghost art:
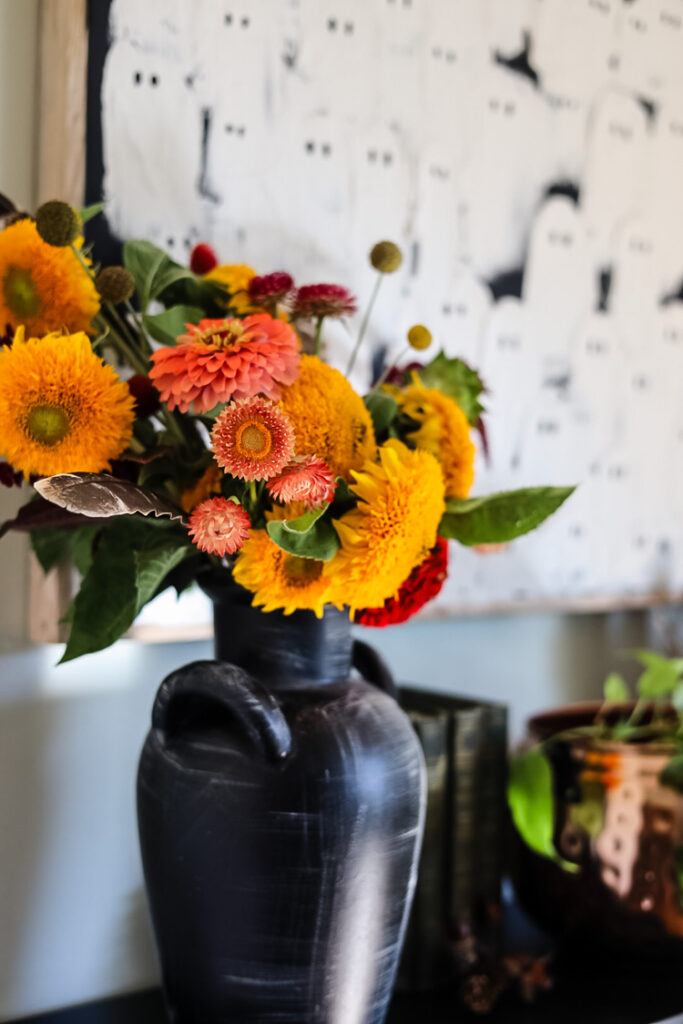
- The Mantel: Lean into the cozy, spooky vibe by layering in pumpkins (both real and faux), black taper candles, and branch stems on the mantel itself. The simplicity of the black and white art lets you have fun with other textures.
- A Gallery Wall: For a smaller canvas, create a Halloween-themed gallery wall! Mix your ghost art with vintage-inspired Halloween prints, a spooky mirror, or even a wrought iron sconce.
- An Entryway Statement: Hang it in your entryway or down a hallway to give your guests a fun and festive welcome the moment they walk in.
- Kid’s Room or Playroom: This project is completely kid-friendly! Use acrylic paint to add colorful details, glitter, or even let your little ones paint smiley faces on the ghosts to make it their own.

Hey Boo!
Here’s another spooky sweet ghostly project to try this Fall.
See your projects featured! If you are inspired by this or any of my other DIY projects, I would love to see them and add you to the Reader’s Spotlight gallery. Send a photo to me at jennifer@cottageonbunkerhill.com
xo, Jennifer


I made one of these, but on a much smaller scale. I love it! The Ghosts are too cute!! I love your large one too. It makes a great statement!
This is SO cute!! Thanks for the step by step tutorial, looks super fun to make!